Adding additional steppers to Klipper using Arduino Pro Micro (Atmega32u4) and TMC2209 driver
The problem: I'm building Rat Rig V-Core 3.1 3D printer. This printer requires 6 stepper drivers: three for Z axis, two for XY axes and one for extruder. I also have an unused BTT SKR Mini E3 V3 board lying around, which provides 4 stepper drivers. One more driver will come from BTT EBB36 toolhead board. Where to get another stepper while having a huge desire to save any penny on this build?
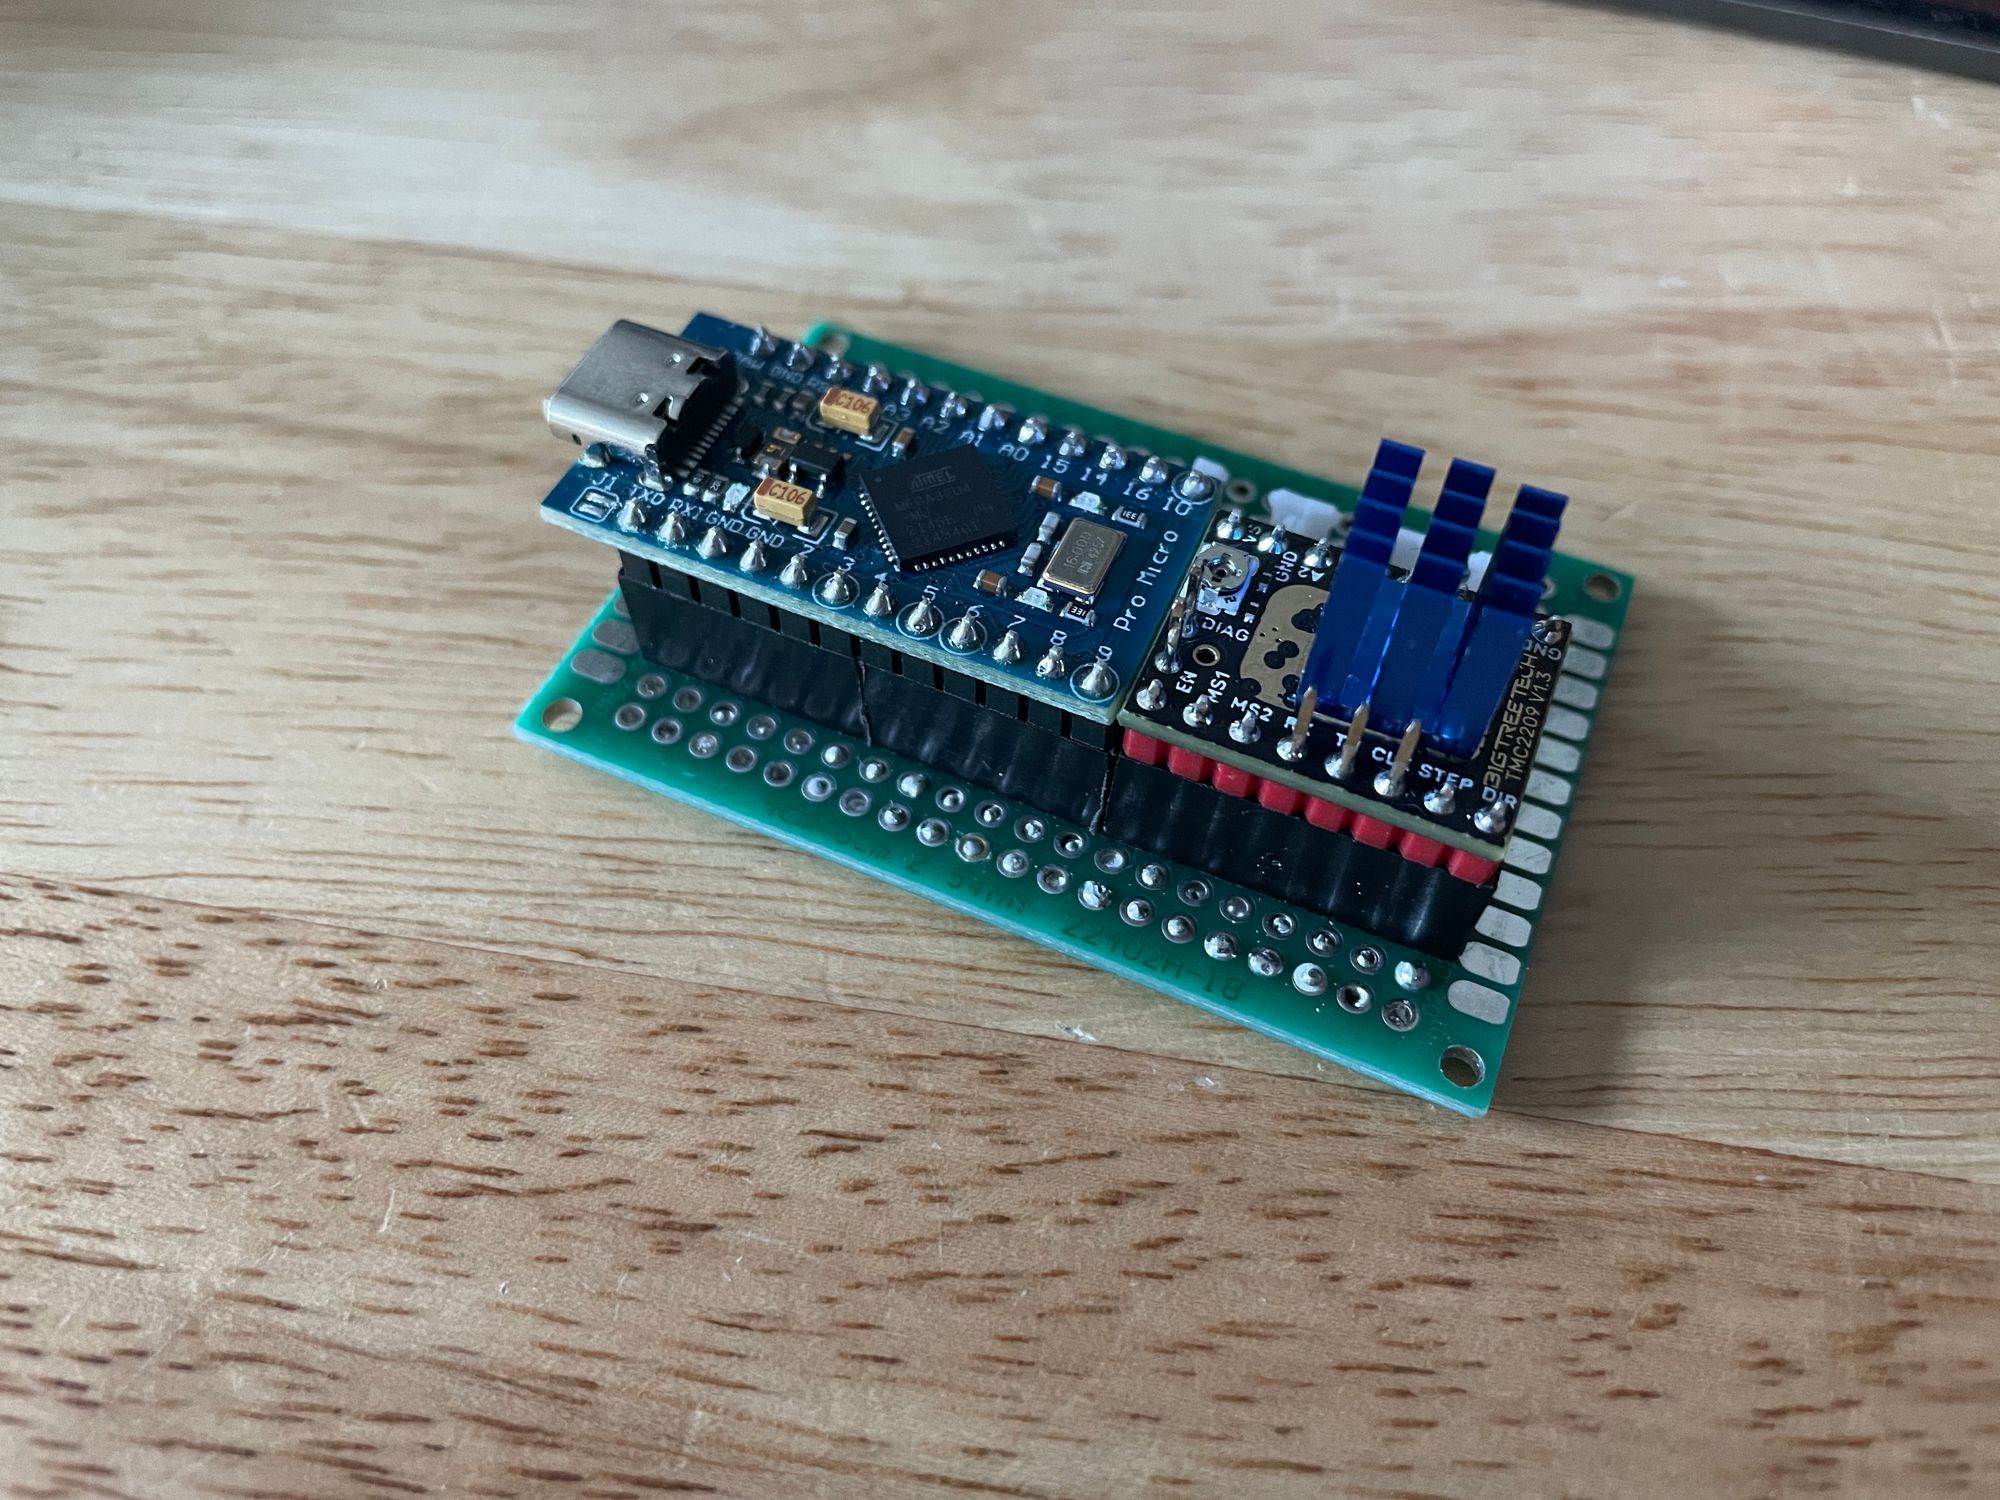
Build an Arduino-based stepper driver for Klipper. Over the last decade or so, as a tinkerer, I've collected a huge amount of dev boards that have no use. This includes a bunch of Arduino Pro Micros. So why not have a little bit of fun.
From time to time there's a post on Klippers discourse warning against usage of 8bit boards for 3D printers in general. And it's totally legit reason when the application requires managing multiple steppers, endstops, thermistors, etc. In this case there's only one stepper with only one endstop (DIAG pin from TMC2209). Considering the fact that Klipper supports Arduino Mega (based on Atmega2560) as a controller for full-fledged printers and that Atmega2560 and Atmega32u4 have literally same clock frequency and performance I believe this is more than enough juice here.
Wiring
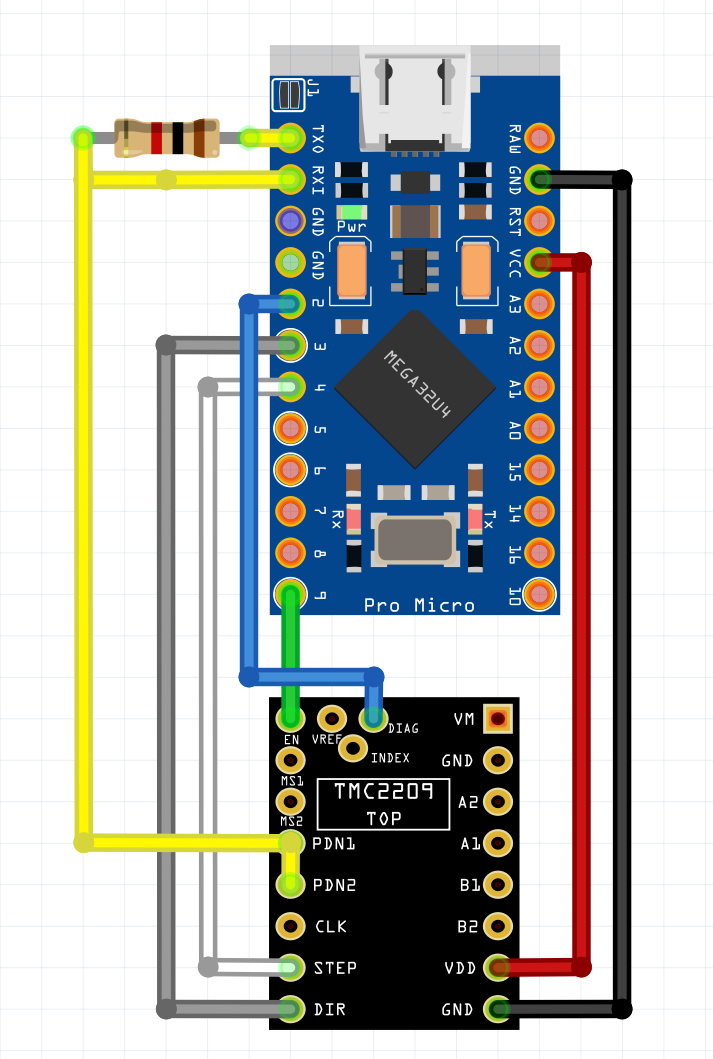
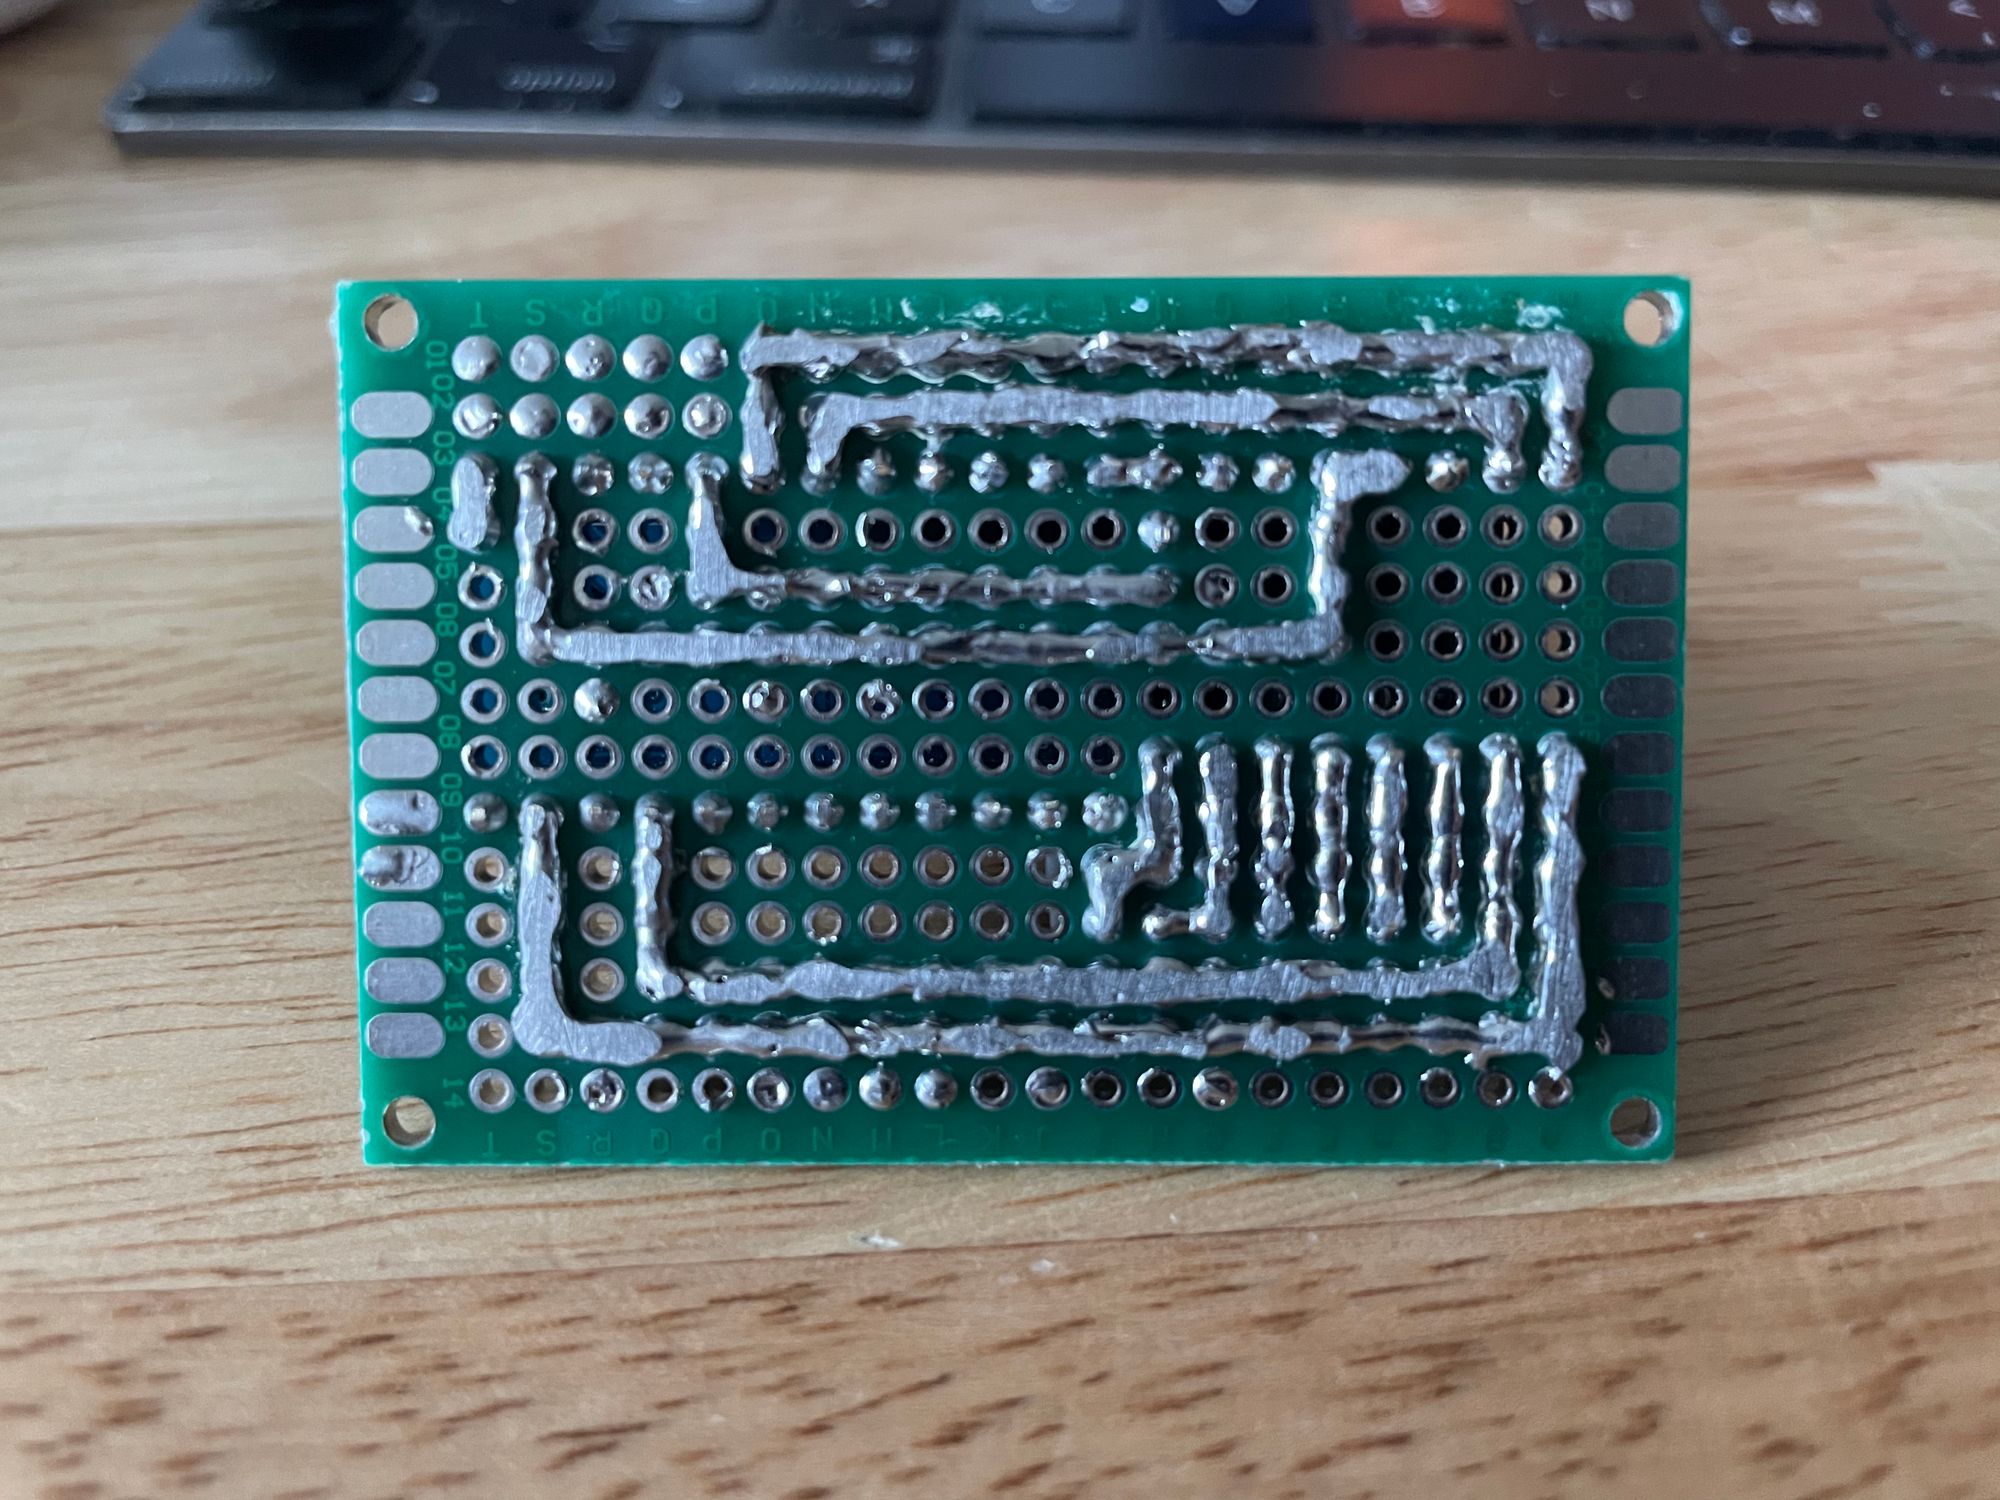
To minimize wiring needed I've decided to use single wire UART which is default configuration in Klipper. This means connecting TX and RX pins on both sides with single wire with additional 1KOhm resistor for TX pin on MCU side. Some boards have the single ping (sometimes it's actually two pins) called PDN_UART. AFAIK BigTreeTech's TMC2209 v1.2 are prewired to be used with one wire UART, but v1.3 requires a jumper or manual bridge. I had some v1.3 on hands, so in my case I just made a solder bridge for the two pins.
Klipper config
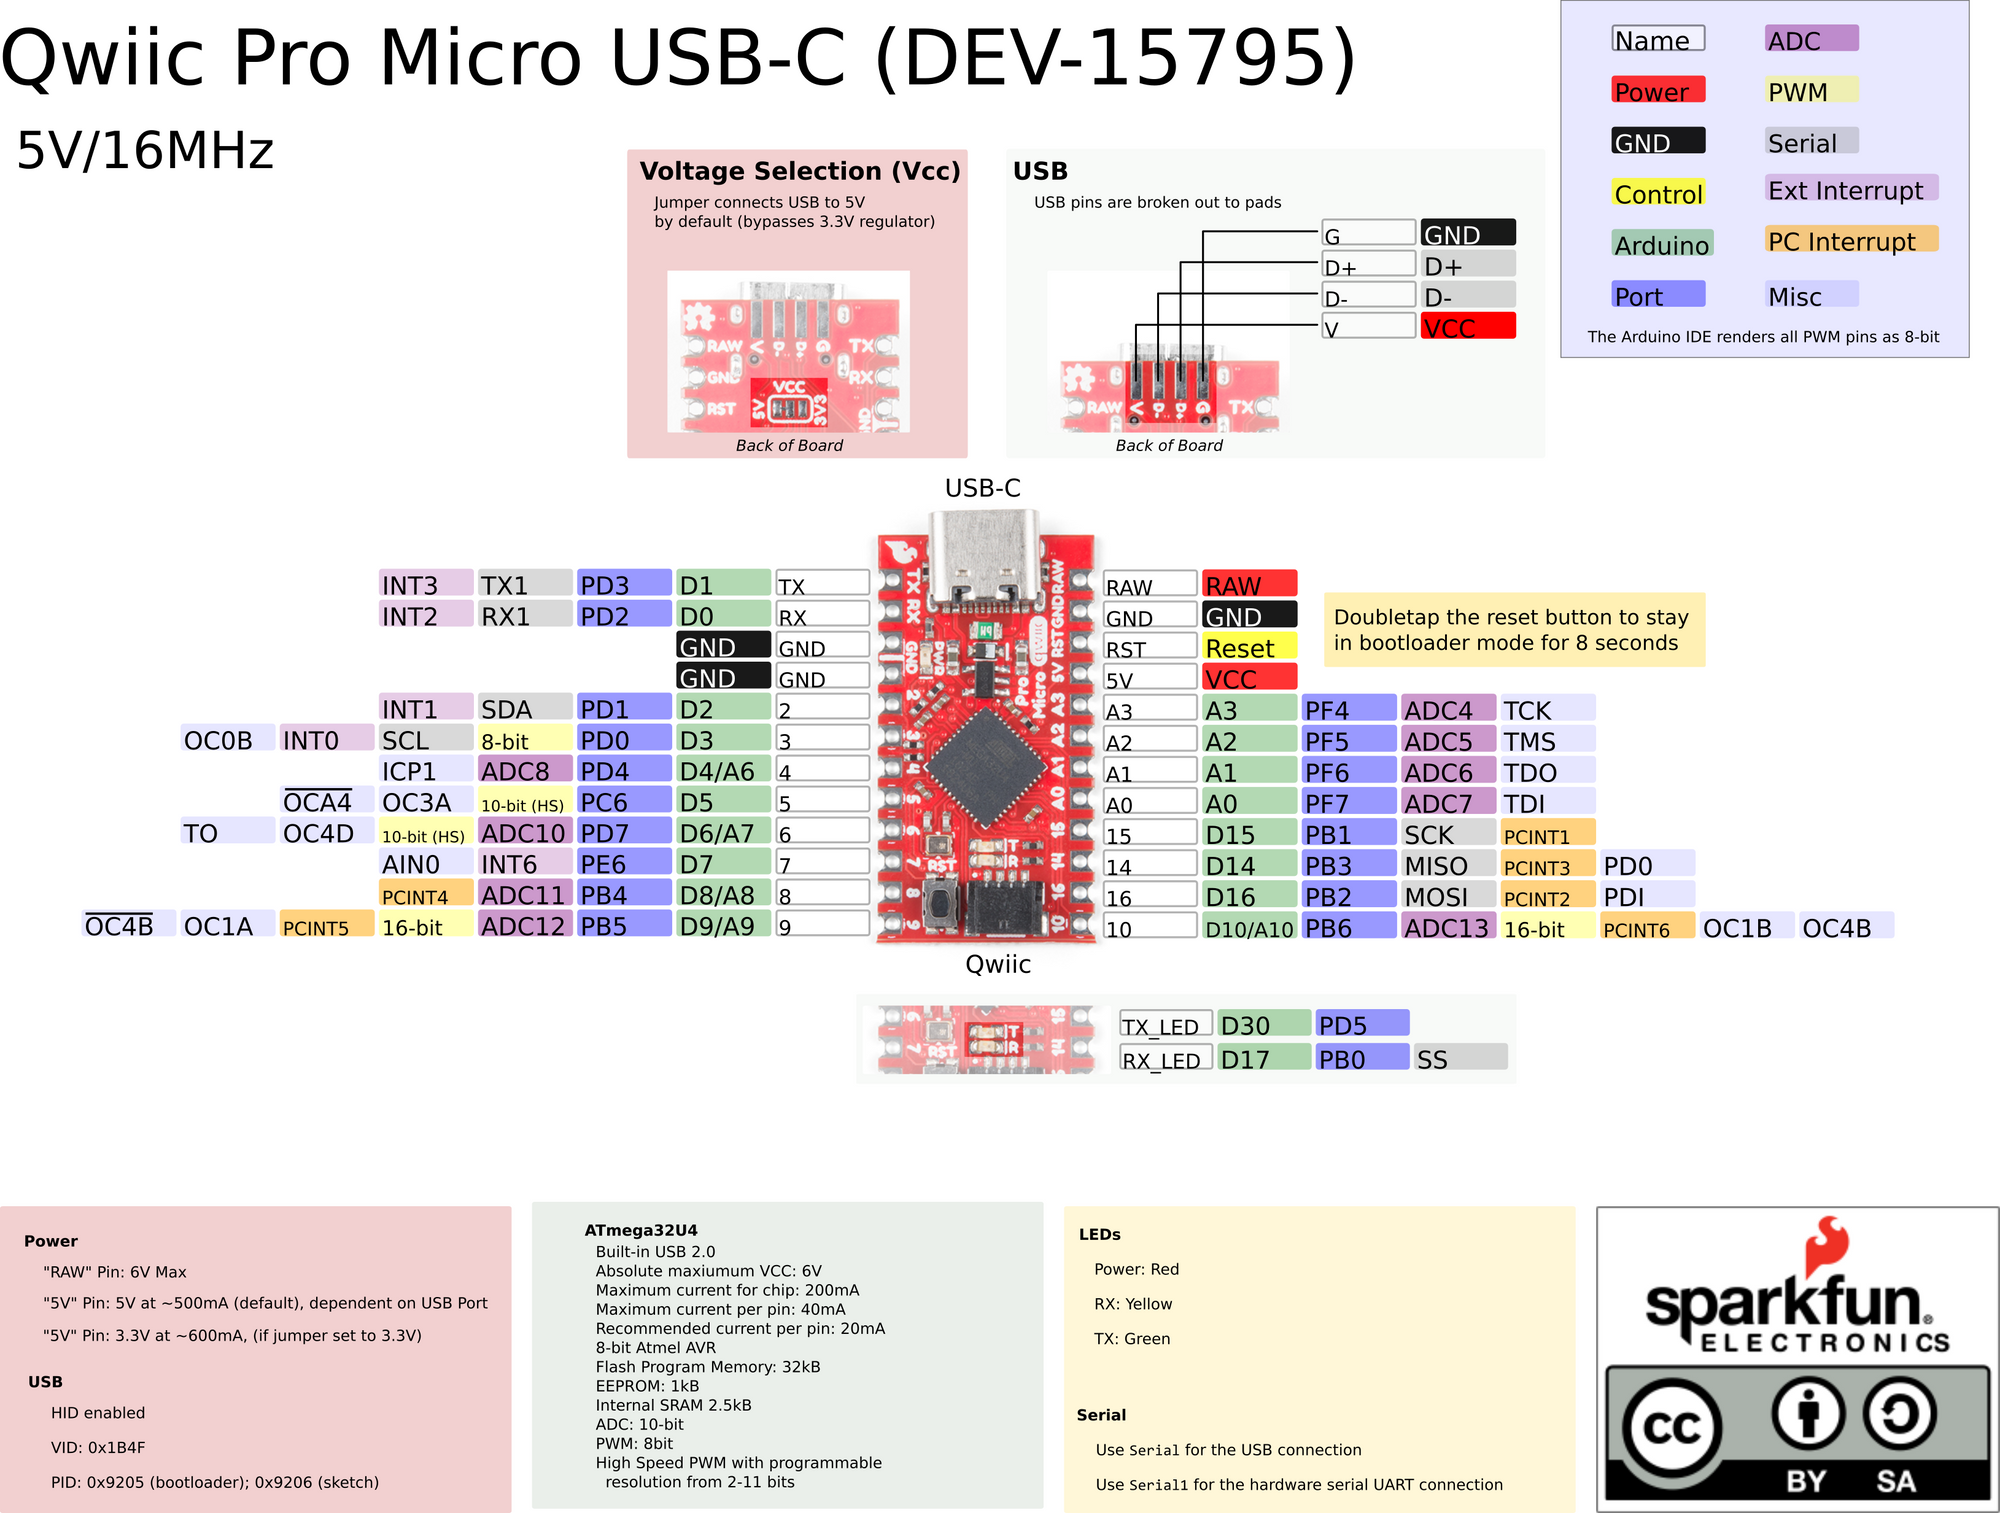
Arduino is well known to use it's own pin mapping which is not directly supported by klipper. Sure, there are some bindings for some AVR chips, but generally I woudl recommend avoiding those and finding the board pinout listing pins for the MCU itself.
With the diagram configuration becomes pretty straightforward
[mcu duino]
serial: /dev/serial/by-id/usb-Klipper_atmega32u4_12345-if00

[tmc2209 manual_stepper testd]
uart_pin: duino:PD2
# tx_pin: duino:PD3 # this does not need to be specified for 1-wire interface
uart_address: 0
run_current: 0.85
# hold_current: 0.400
interpolate: True
# sense_resistor: 0.110
stealthchop_threshold: 999999
diag_pin: ^duino:PD1 # pin 2
driver_SGTHRS: 30

[manual_stepper testd]
enable_pin: !duino:PB5 # pin 9
dir_pin: !duino:PD0 # pin 3
step_pin: duino:PD4 # pin 4
microsteps: 16
rotation_distance: 39.524
full_steps_per_rotation: 200
velocity: 20
accel: 600
endstop_pin: tmc2209_testd:virtual_endstop
This config leverages sensorless homing feature of TMC2209's code in Klipper. The threshold is quite low and with this particular motor works like a charm
Conclusion
In the end this was a fun 4-hour long project resulting in cheap way to scale my 3D printer's additional features with little to none effort.
UPD. Arduino Pro Micro can not handle speeds of 500 mm/s and fails with error "Rescheduled timer in the past. Printing on 300 mm/s looks good tho