Prusa Mini (Prusa Mini+) First Layer Calibration
Prusa Mini(+) builtin calibration of first layer is pure garbage. It is only good for initial setup to make the filament stick to the bed, but to use it for actual calibration is a gigantic waste of time. The problem with it is that actual printing time is lower than the time you spend in the menu confirming "cleaning sheet", "starting from existing value" and "repeat previous step?". What you actually need is to use the "Live Adjust Z" feature during the print and this is how you do it.
Preparation
(Assuming you have ran initial calibration like the Prusa book tells you to do)
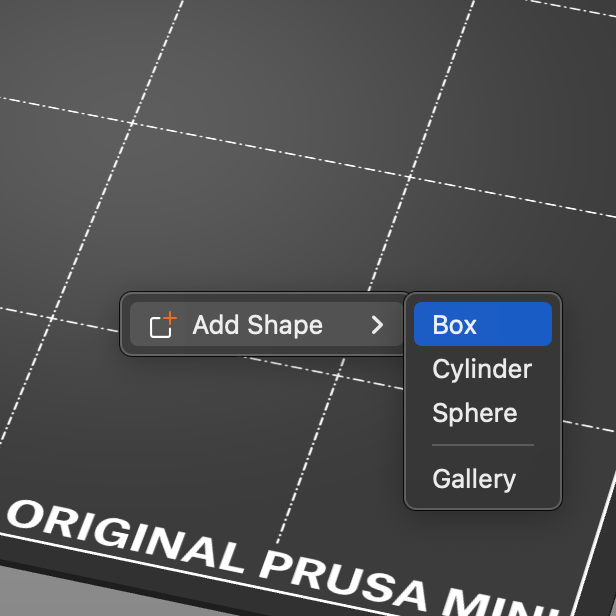
First you need to create a sample print gcode. Open your Prusa Slicer and create a shape by right-clicking on the plate and selecting "Add Shape" menu item (it's the only one there). Select box in it.
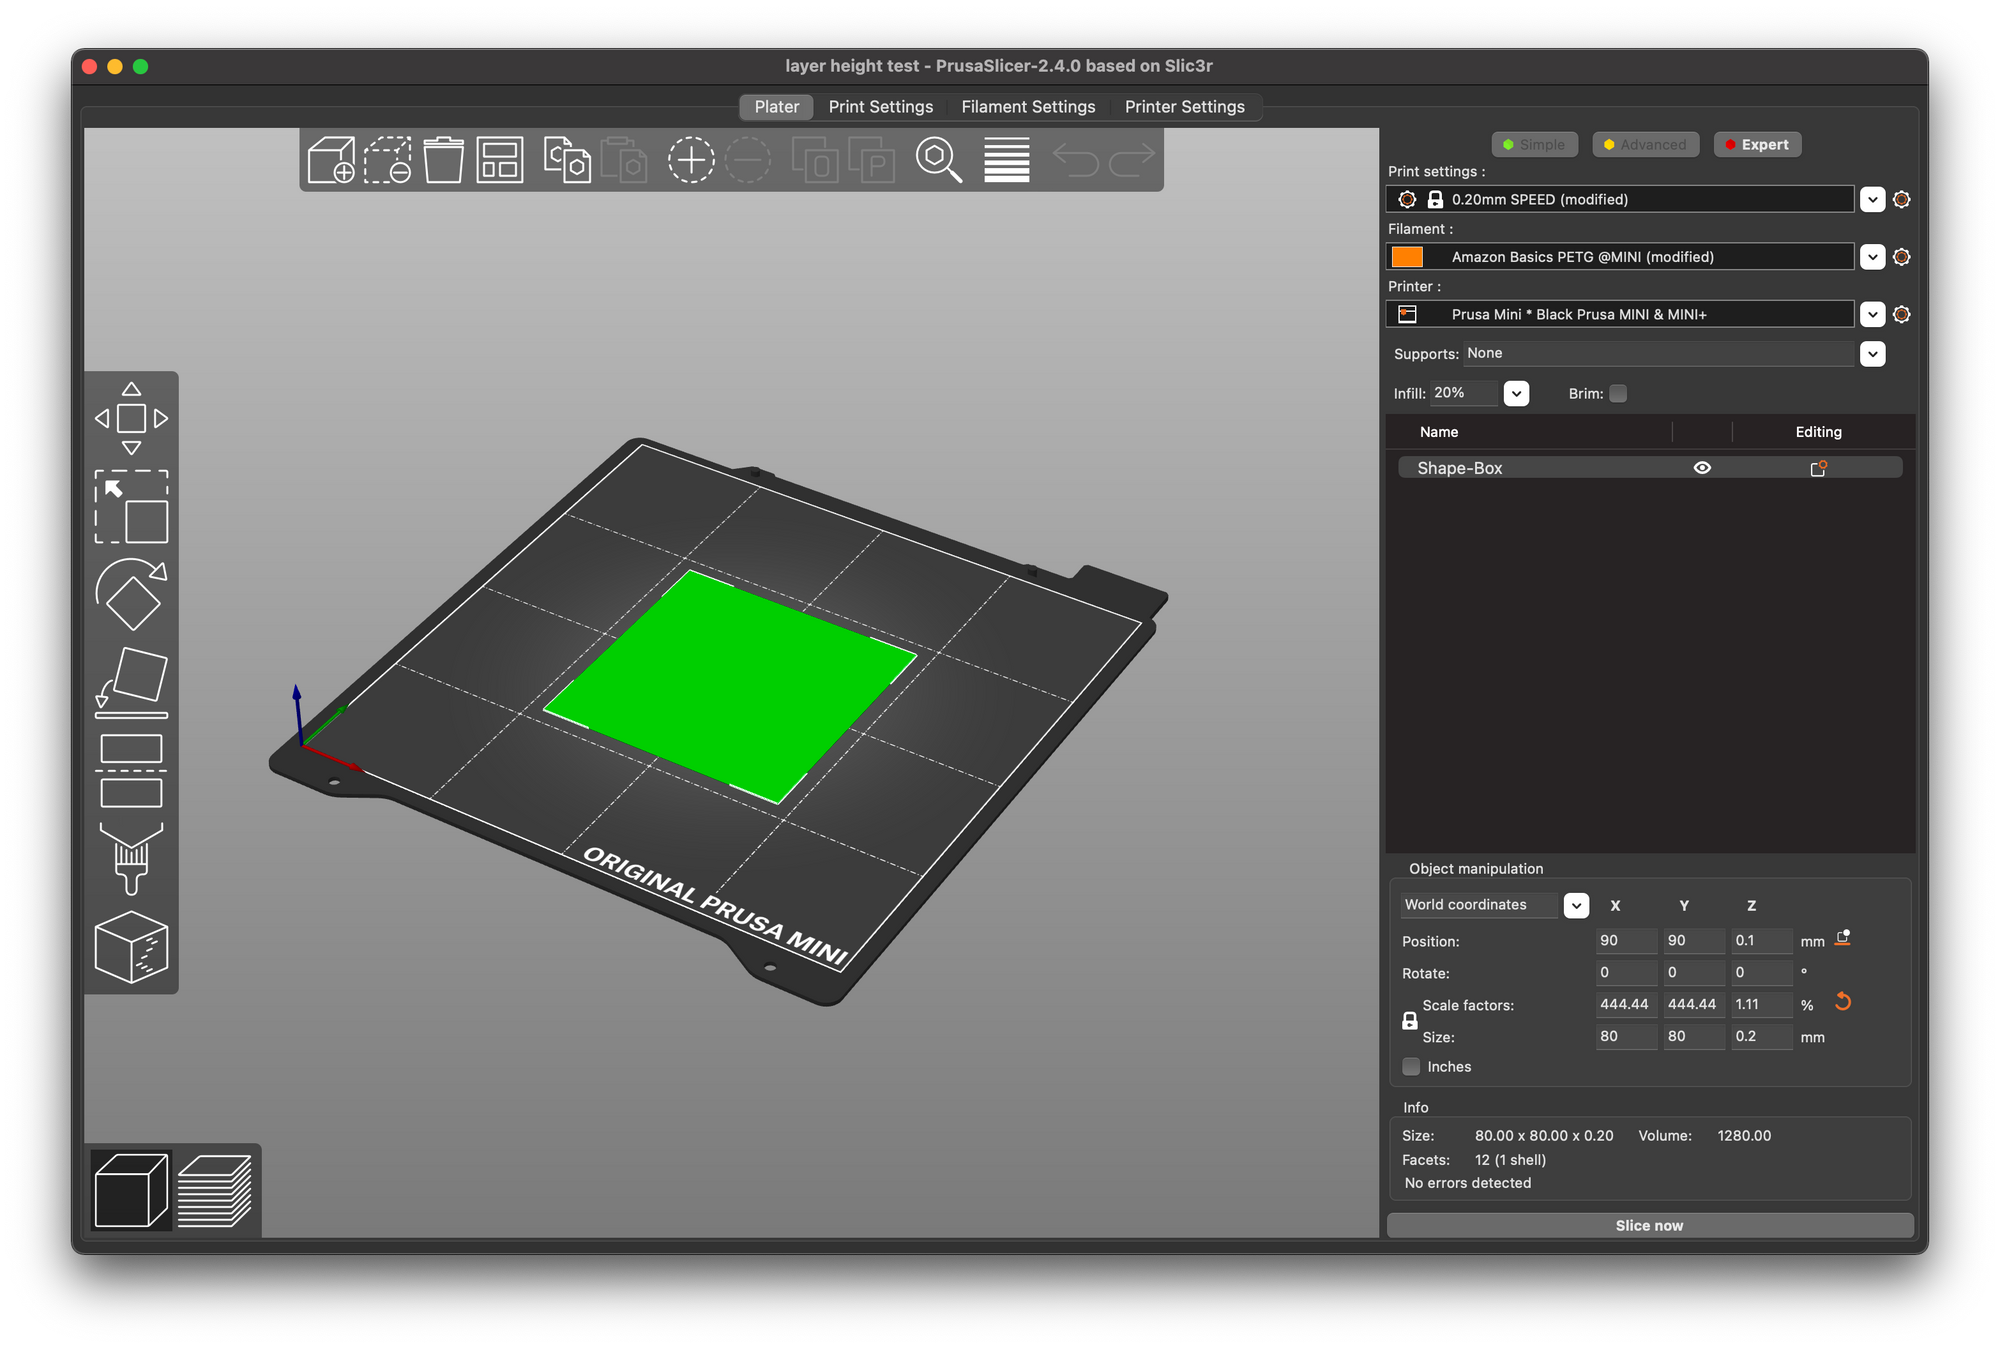
The size of width and height does not really matter as long as it's "big". I am using 80mm by 80mm. What's important is the height of the box. I recommend using 0.2mm and selecting the "0.20mm SPEED" printing preset, you want a single layer print. The filament does not really matter, use whatever non-flexible filament you have already loaded. I used PETG. With PLA the result of calibration will be exactly the same. Tho I do not recommend using ABS or ASA since those are generally tough to print with, save them for actual prints instead (i.e. save your mental health during calibration). If you have lighter colour of the filament like white, gray or yellow - use that. If you don't - that's not the problem, dark colours work just as good (I did my calibration with Amazon Basics Black PETG), but lighter colours will have a benefit of showing printing artifacts in form of shadows.
You should end up with something that looks like this:
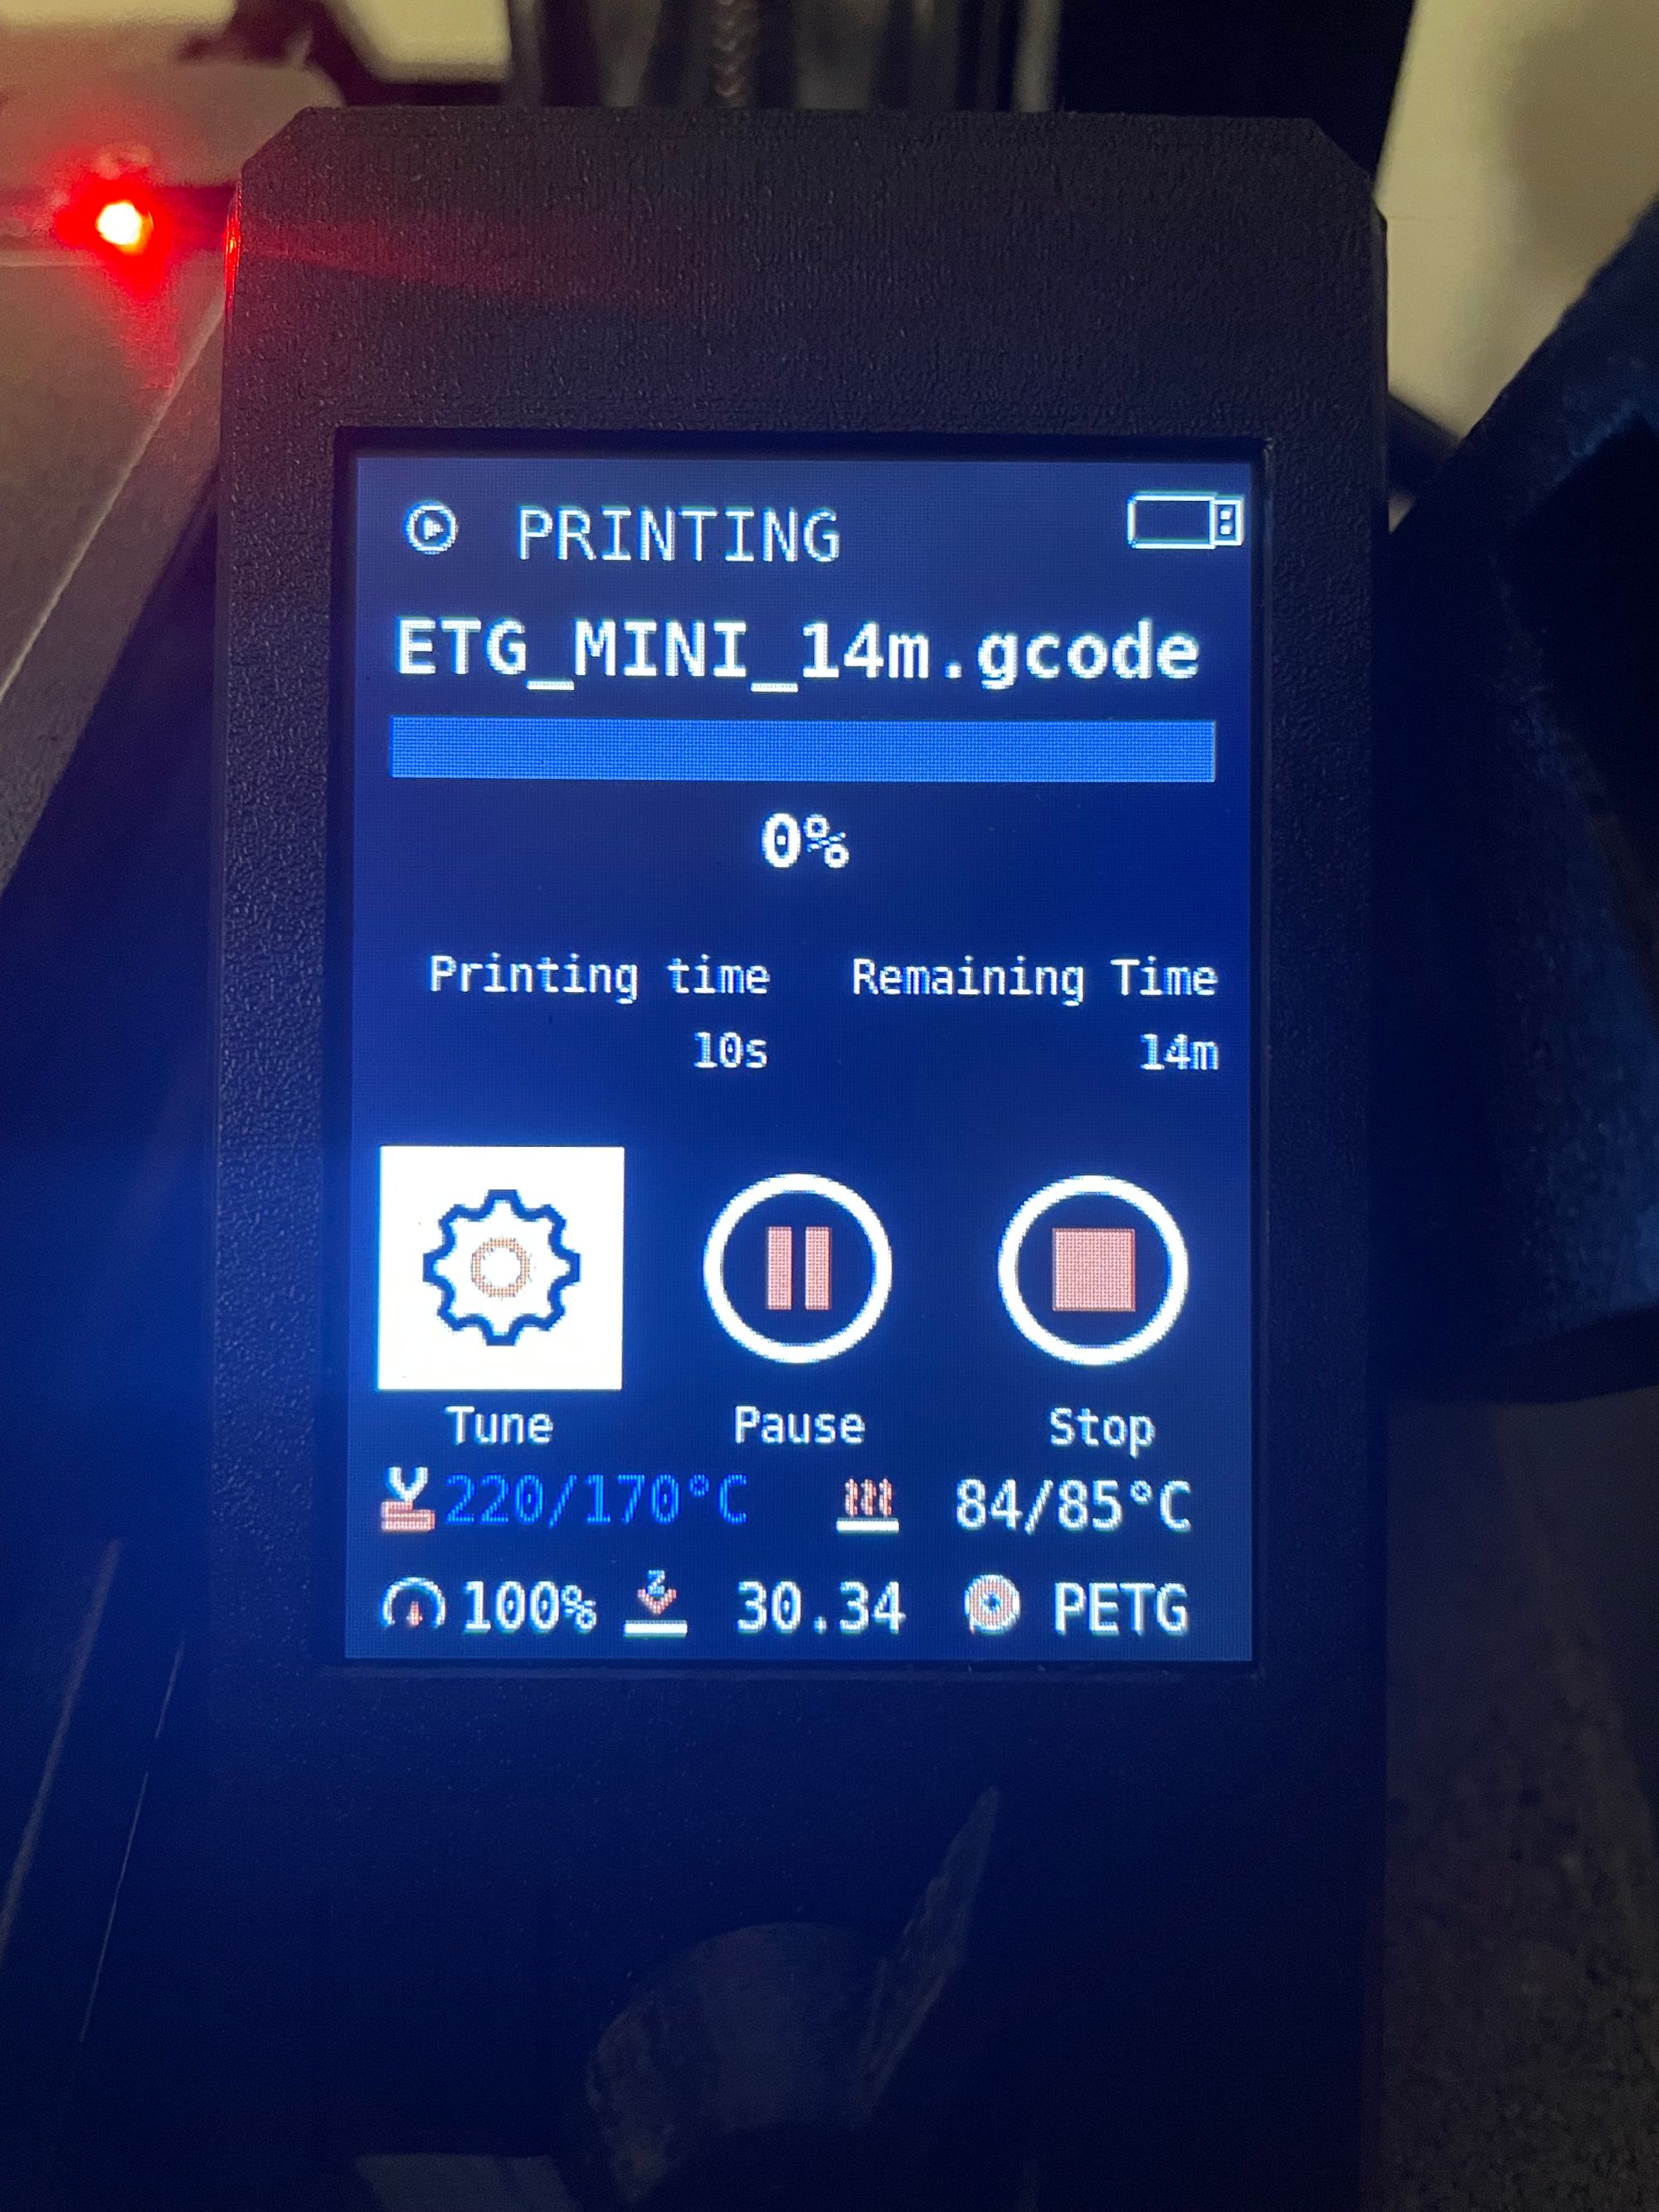
Now go ahead and slice it, upload to USB (yes, use USB even if you have octoprint set up) and get ready to spend some quality time in front of your printer. Plug the USB in the printer and start the print of your custom calibration gcode.
Actual Calibration
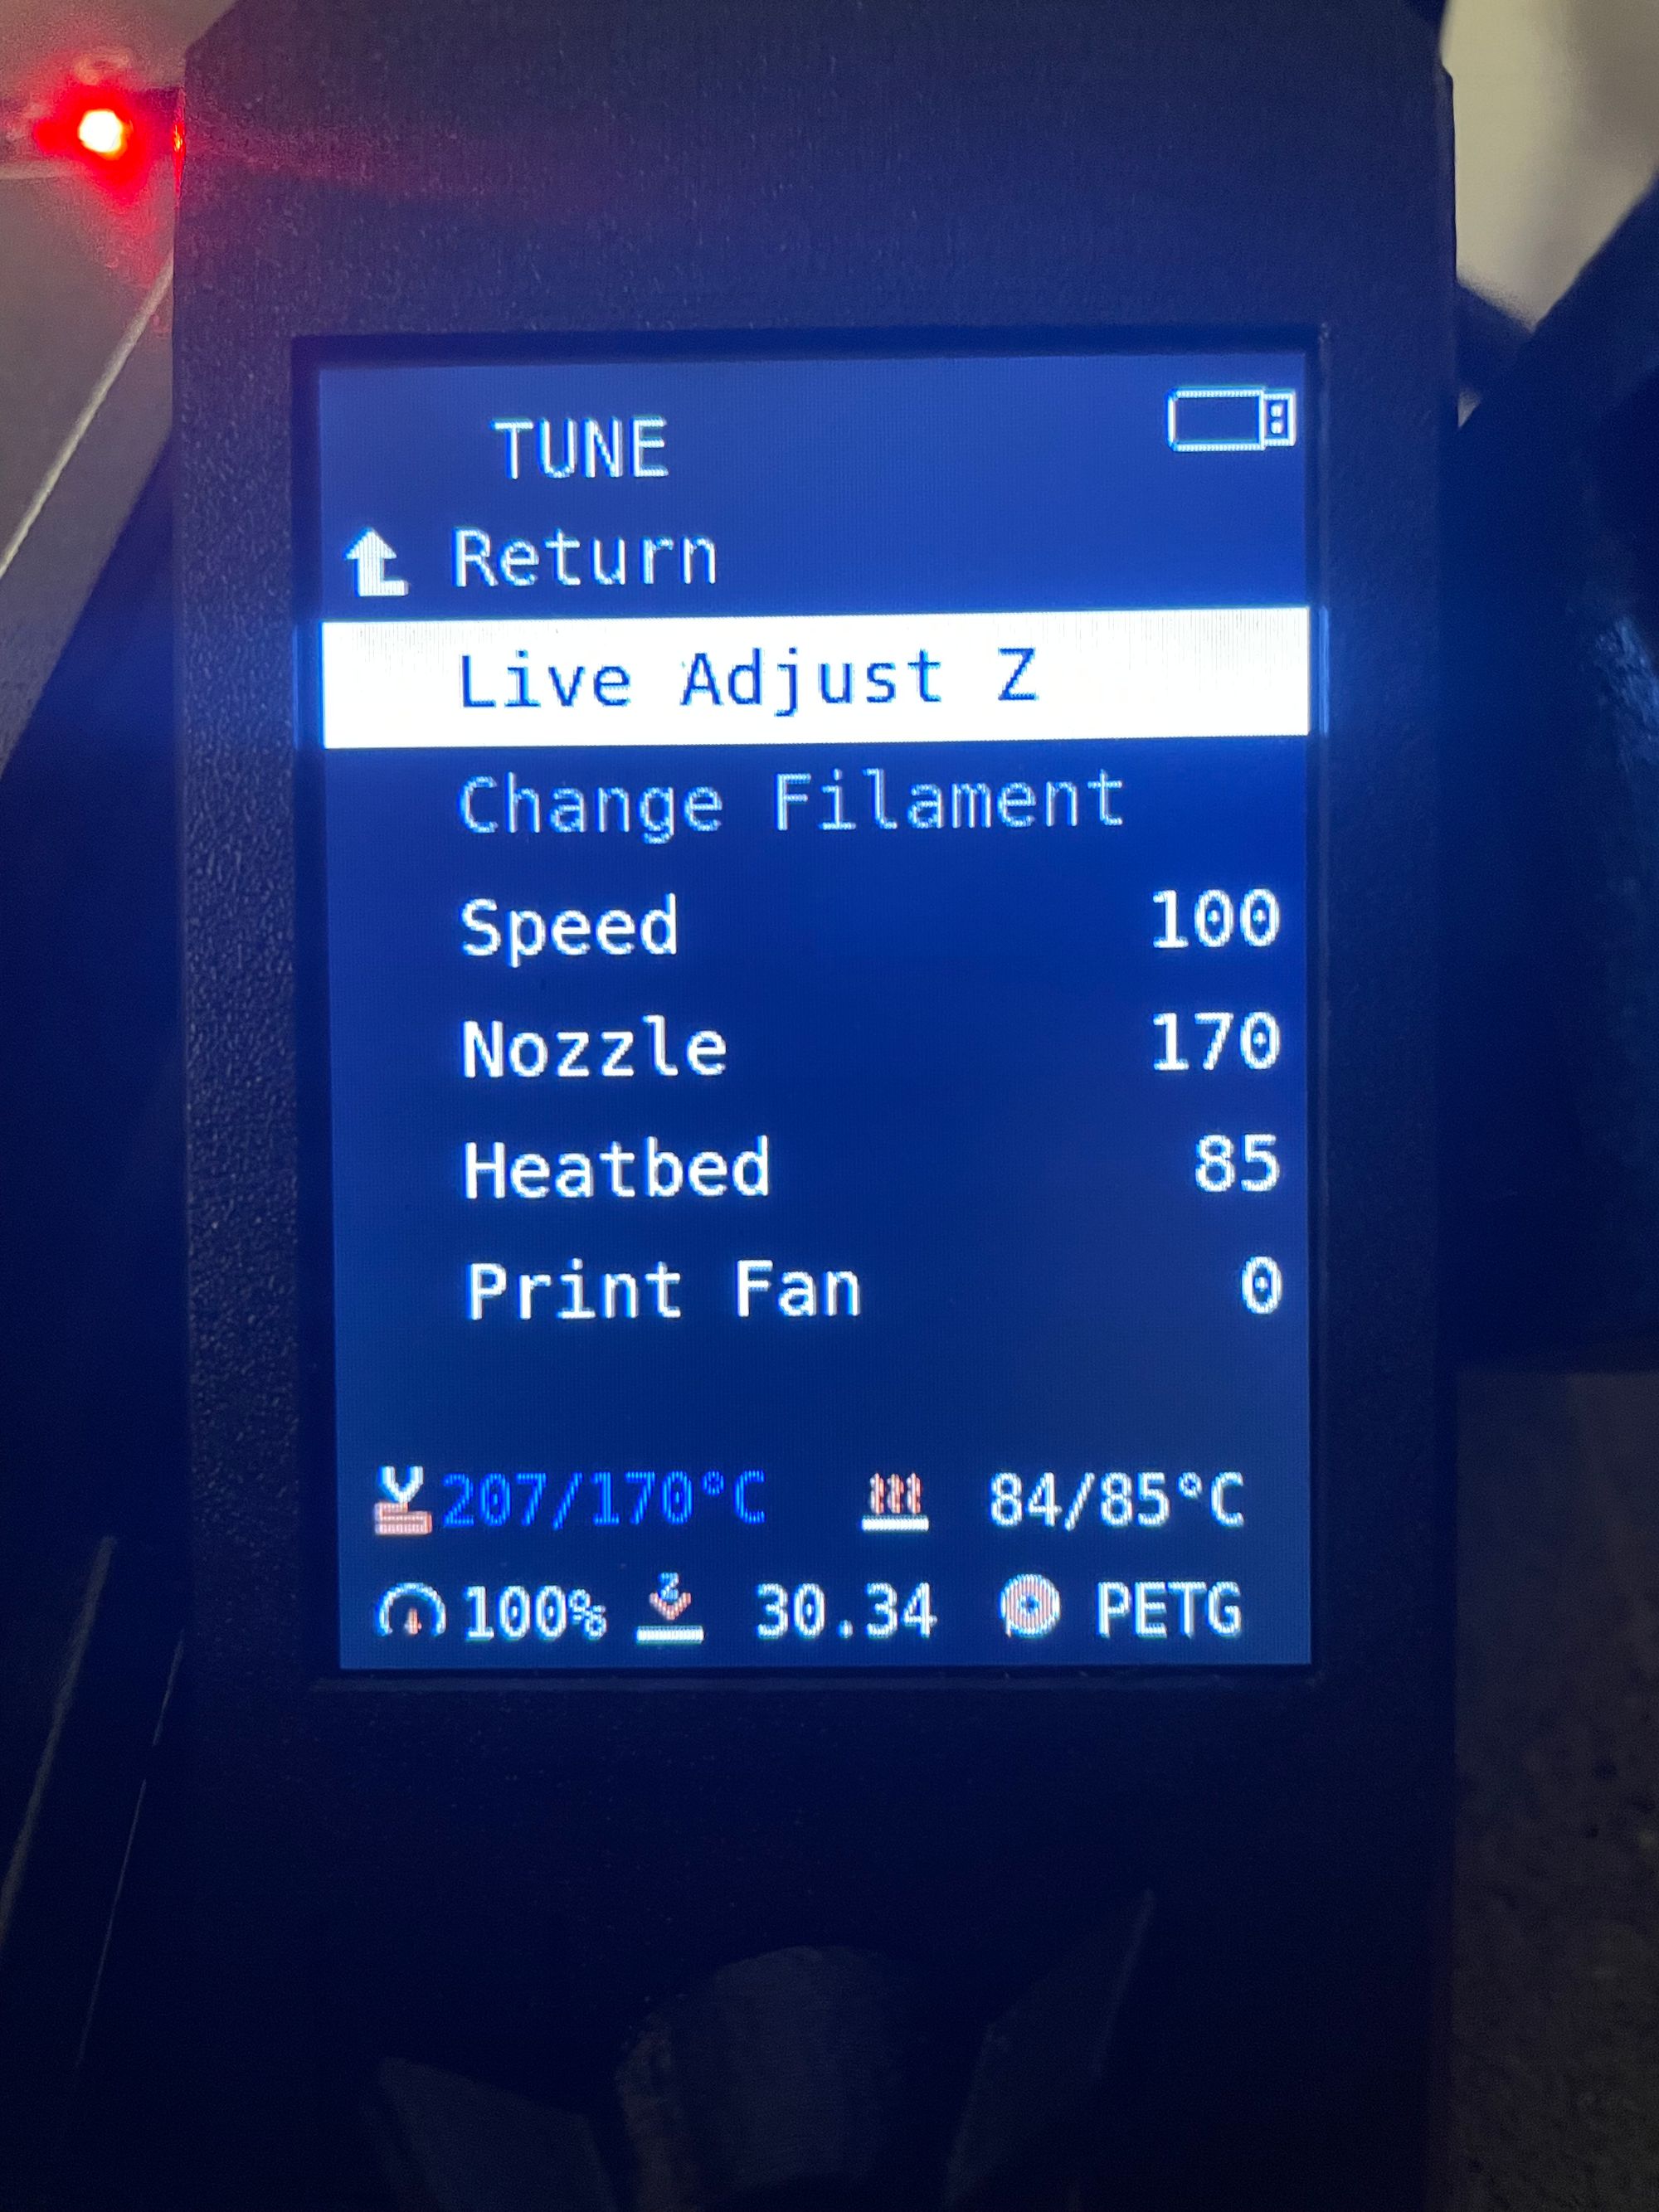
While your printer is heating up the nozzle and heatbed you can immediatelly jump into "Live Adjust Z" setting dialog. Select "Tune", then "Live Adjust Z". You'll see something like this with the value from last calibration.
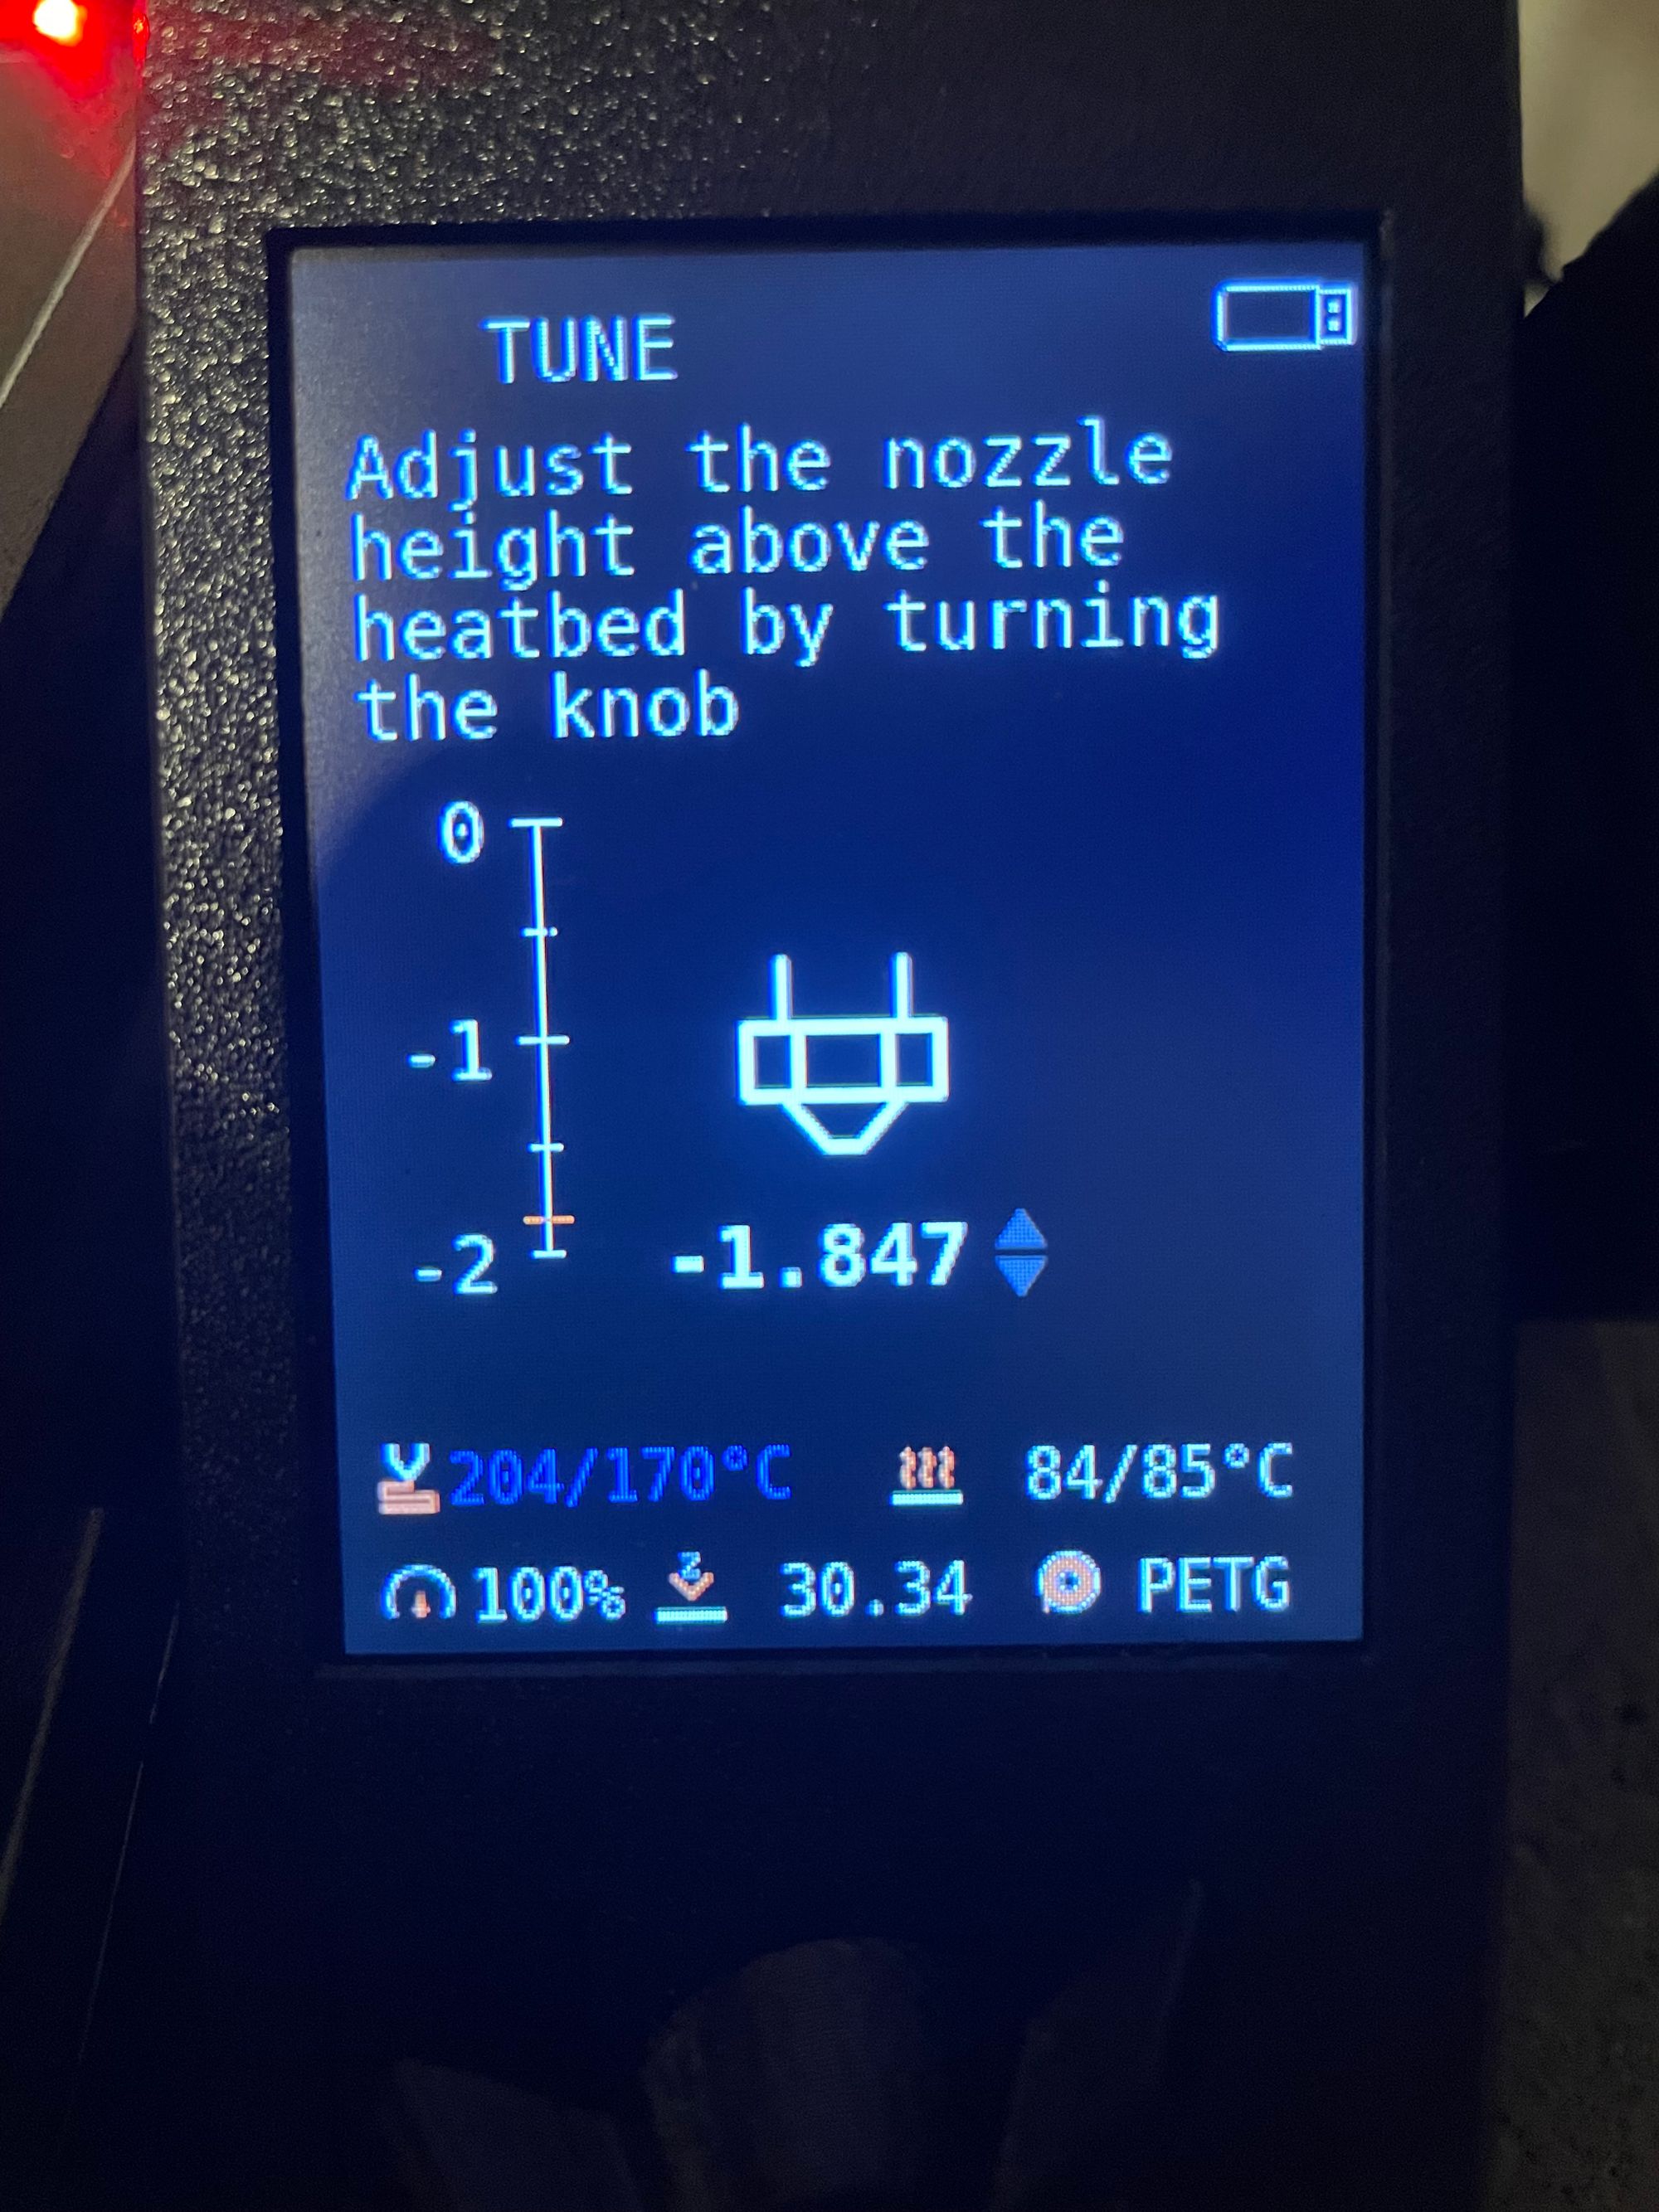
Now wait till the print actually starts. While the printer is doing it's job you can already see some results. If the filament looks like next picture - your nozzle is way to high, reduce the Z height in high steps, like 0.3-0.5mm. Remember, we are lowering the nozzle, so display is showing the negative adjustment value.
For example, result of builtin calibration for my printer was OK at approximately -1.65mm, but the actual print was failing till i reduced it to -1.82mm
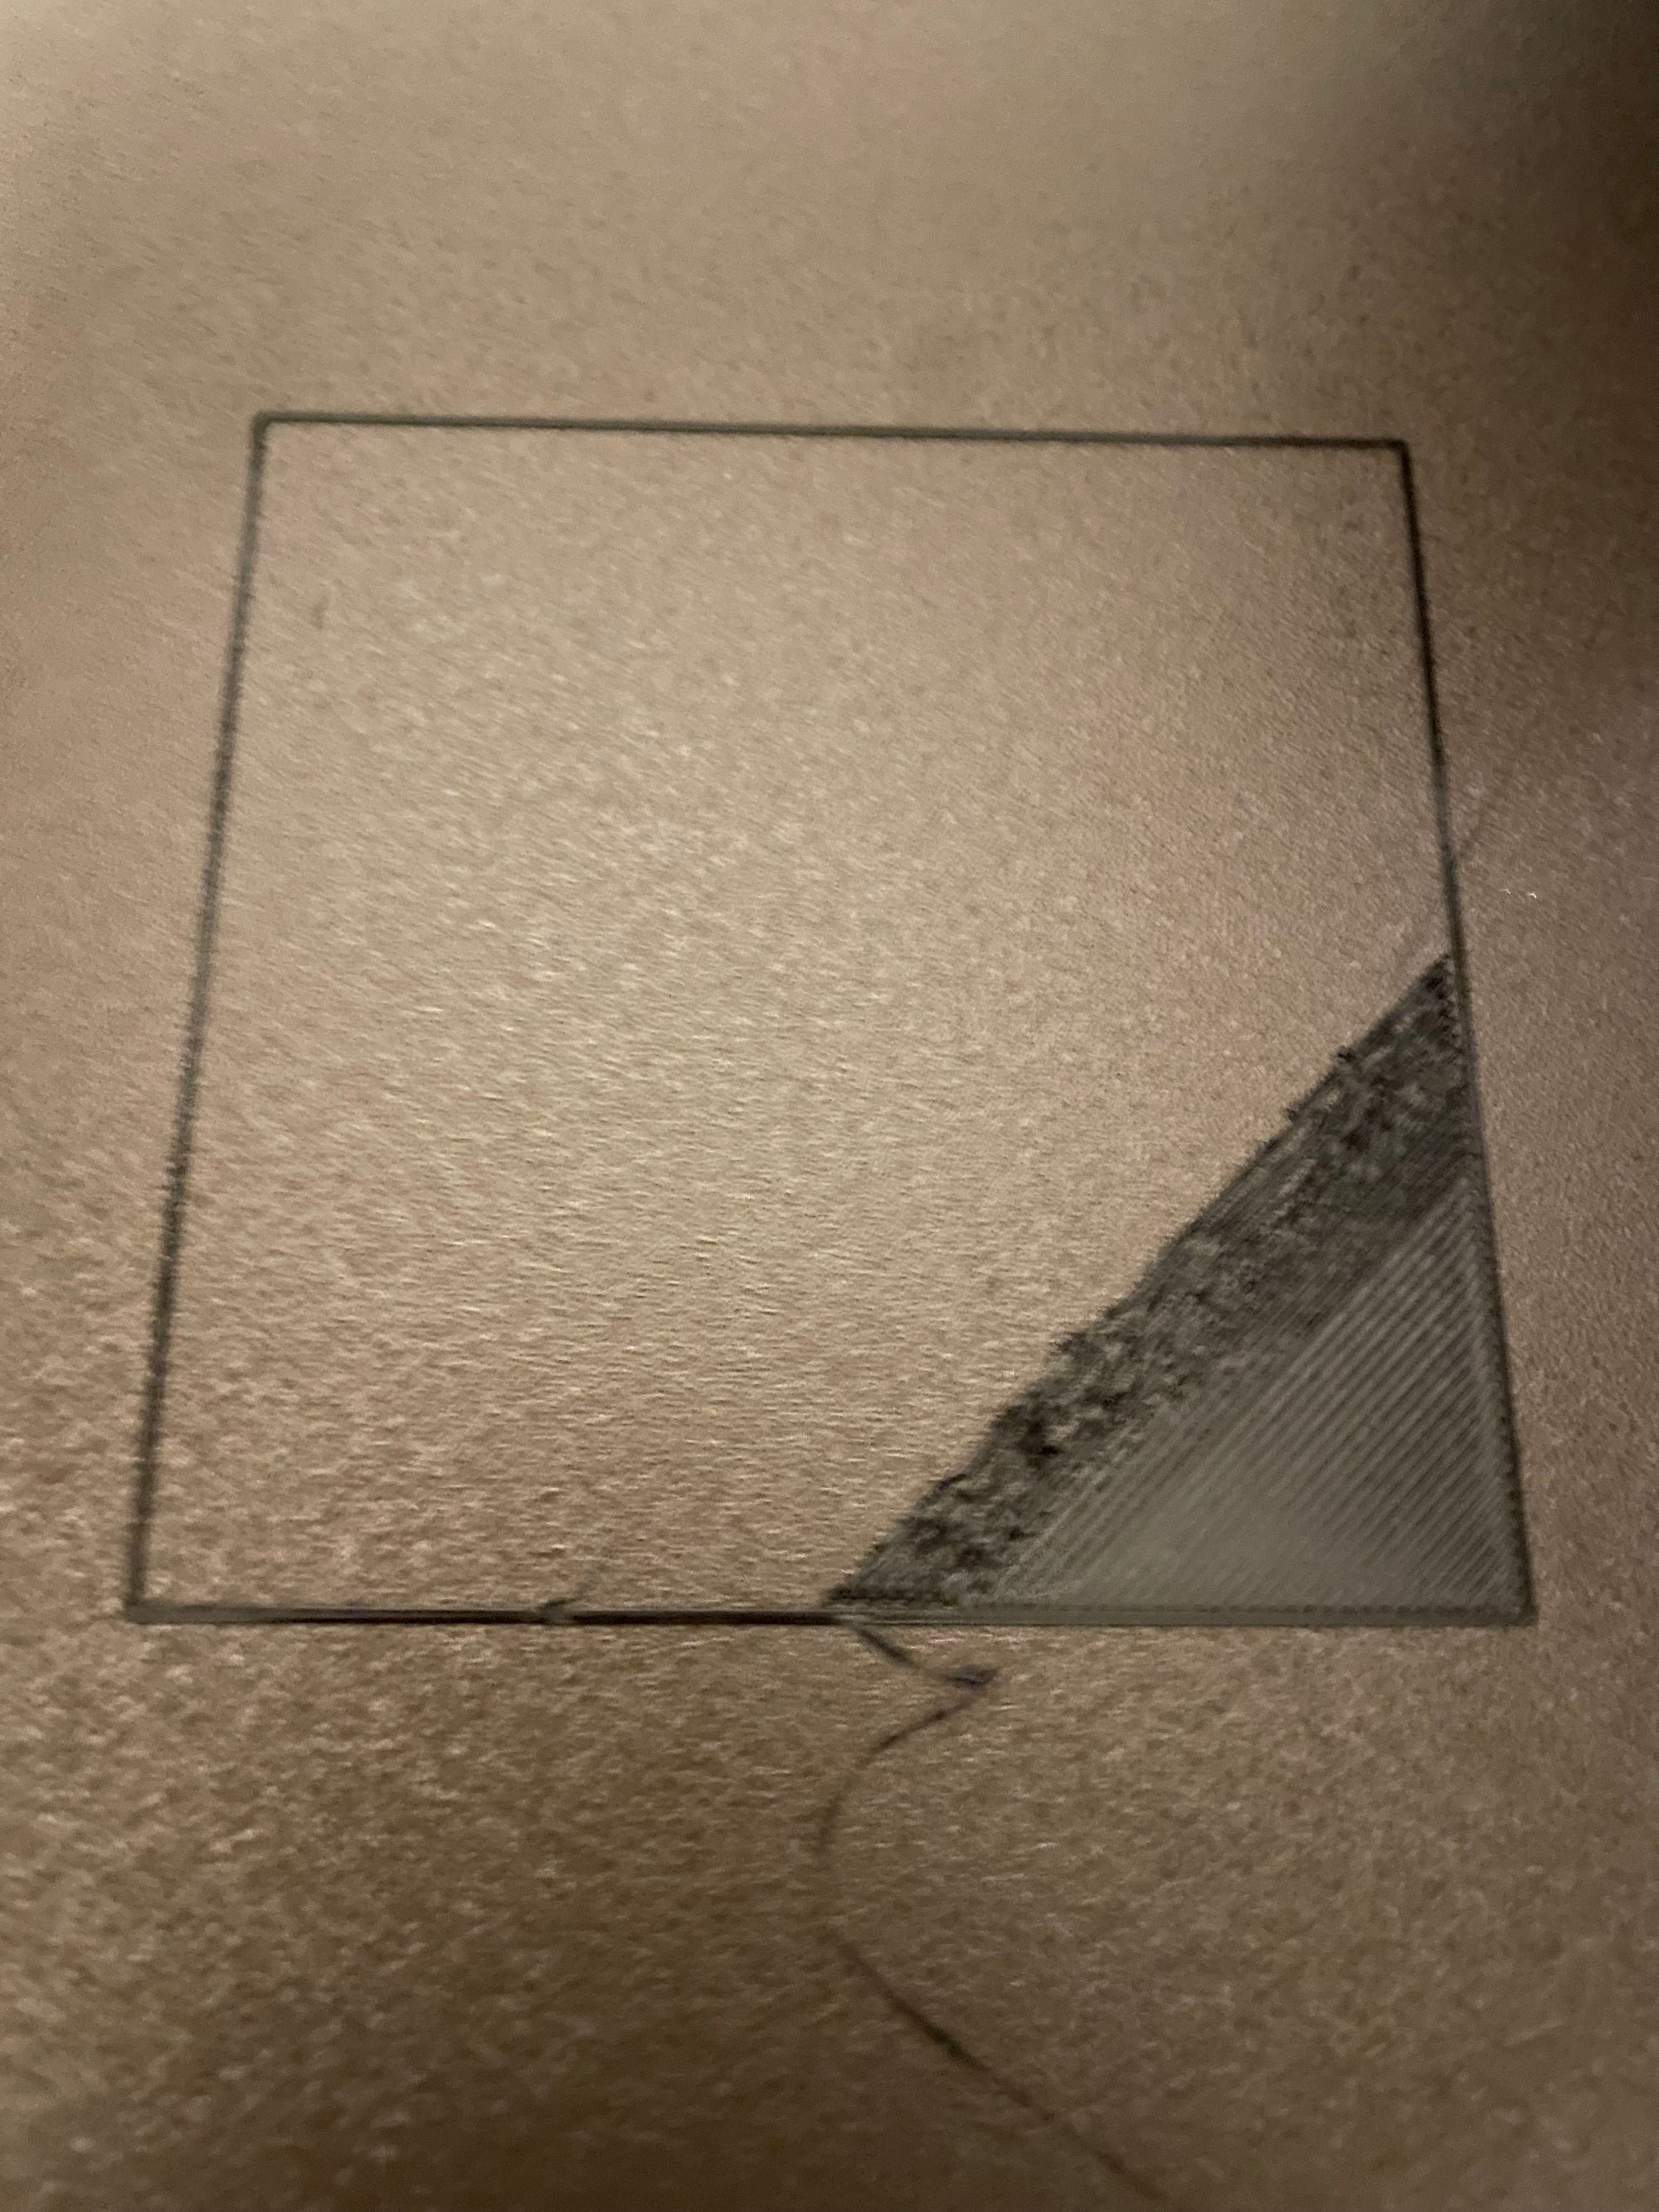
As soon as printer finished roughtly 1/3 of the square you can make first adjustments. If the print looks "stringy", i.e. you can clearly see individual strings of extruded filament not bound together like on picture below - you need to lower your nozzle more. If you leave it like this you'll get terrible-looking surface of first layer on each and every of your prints.
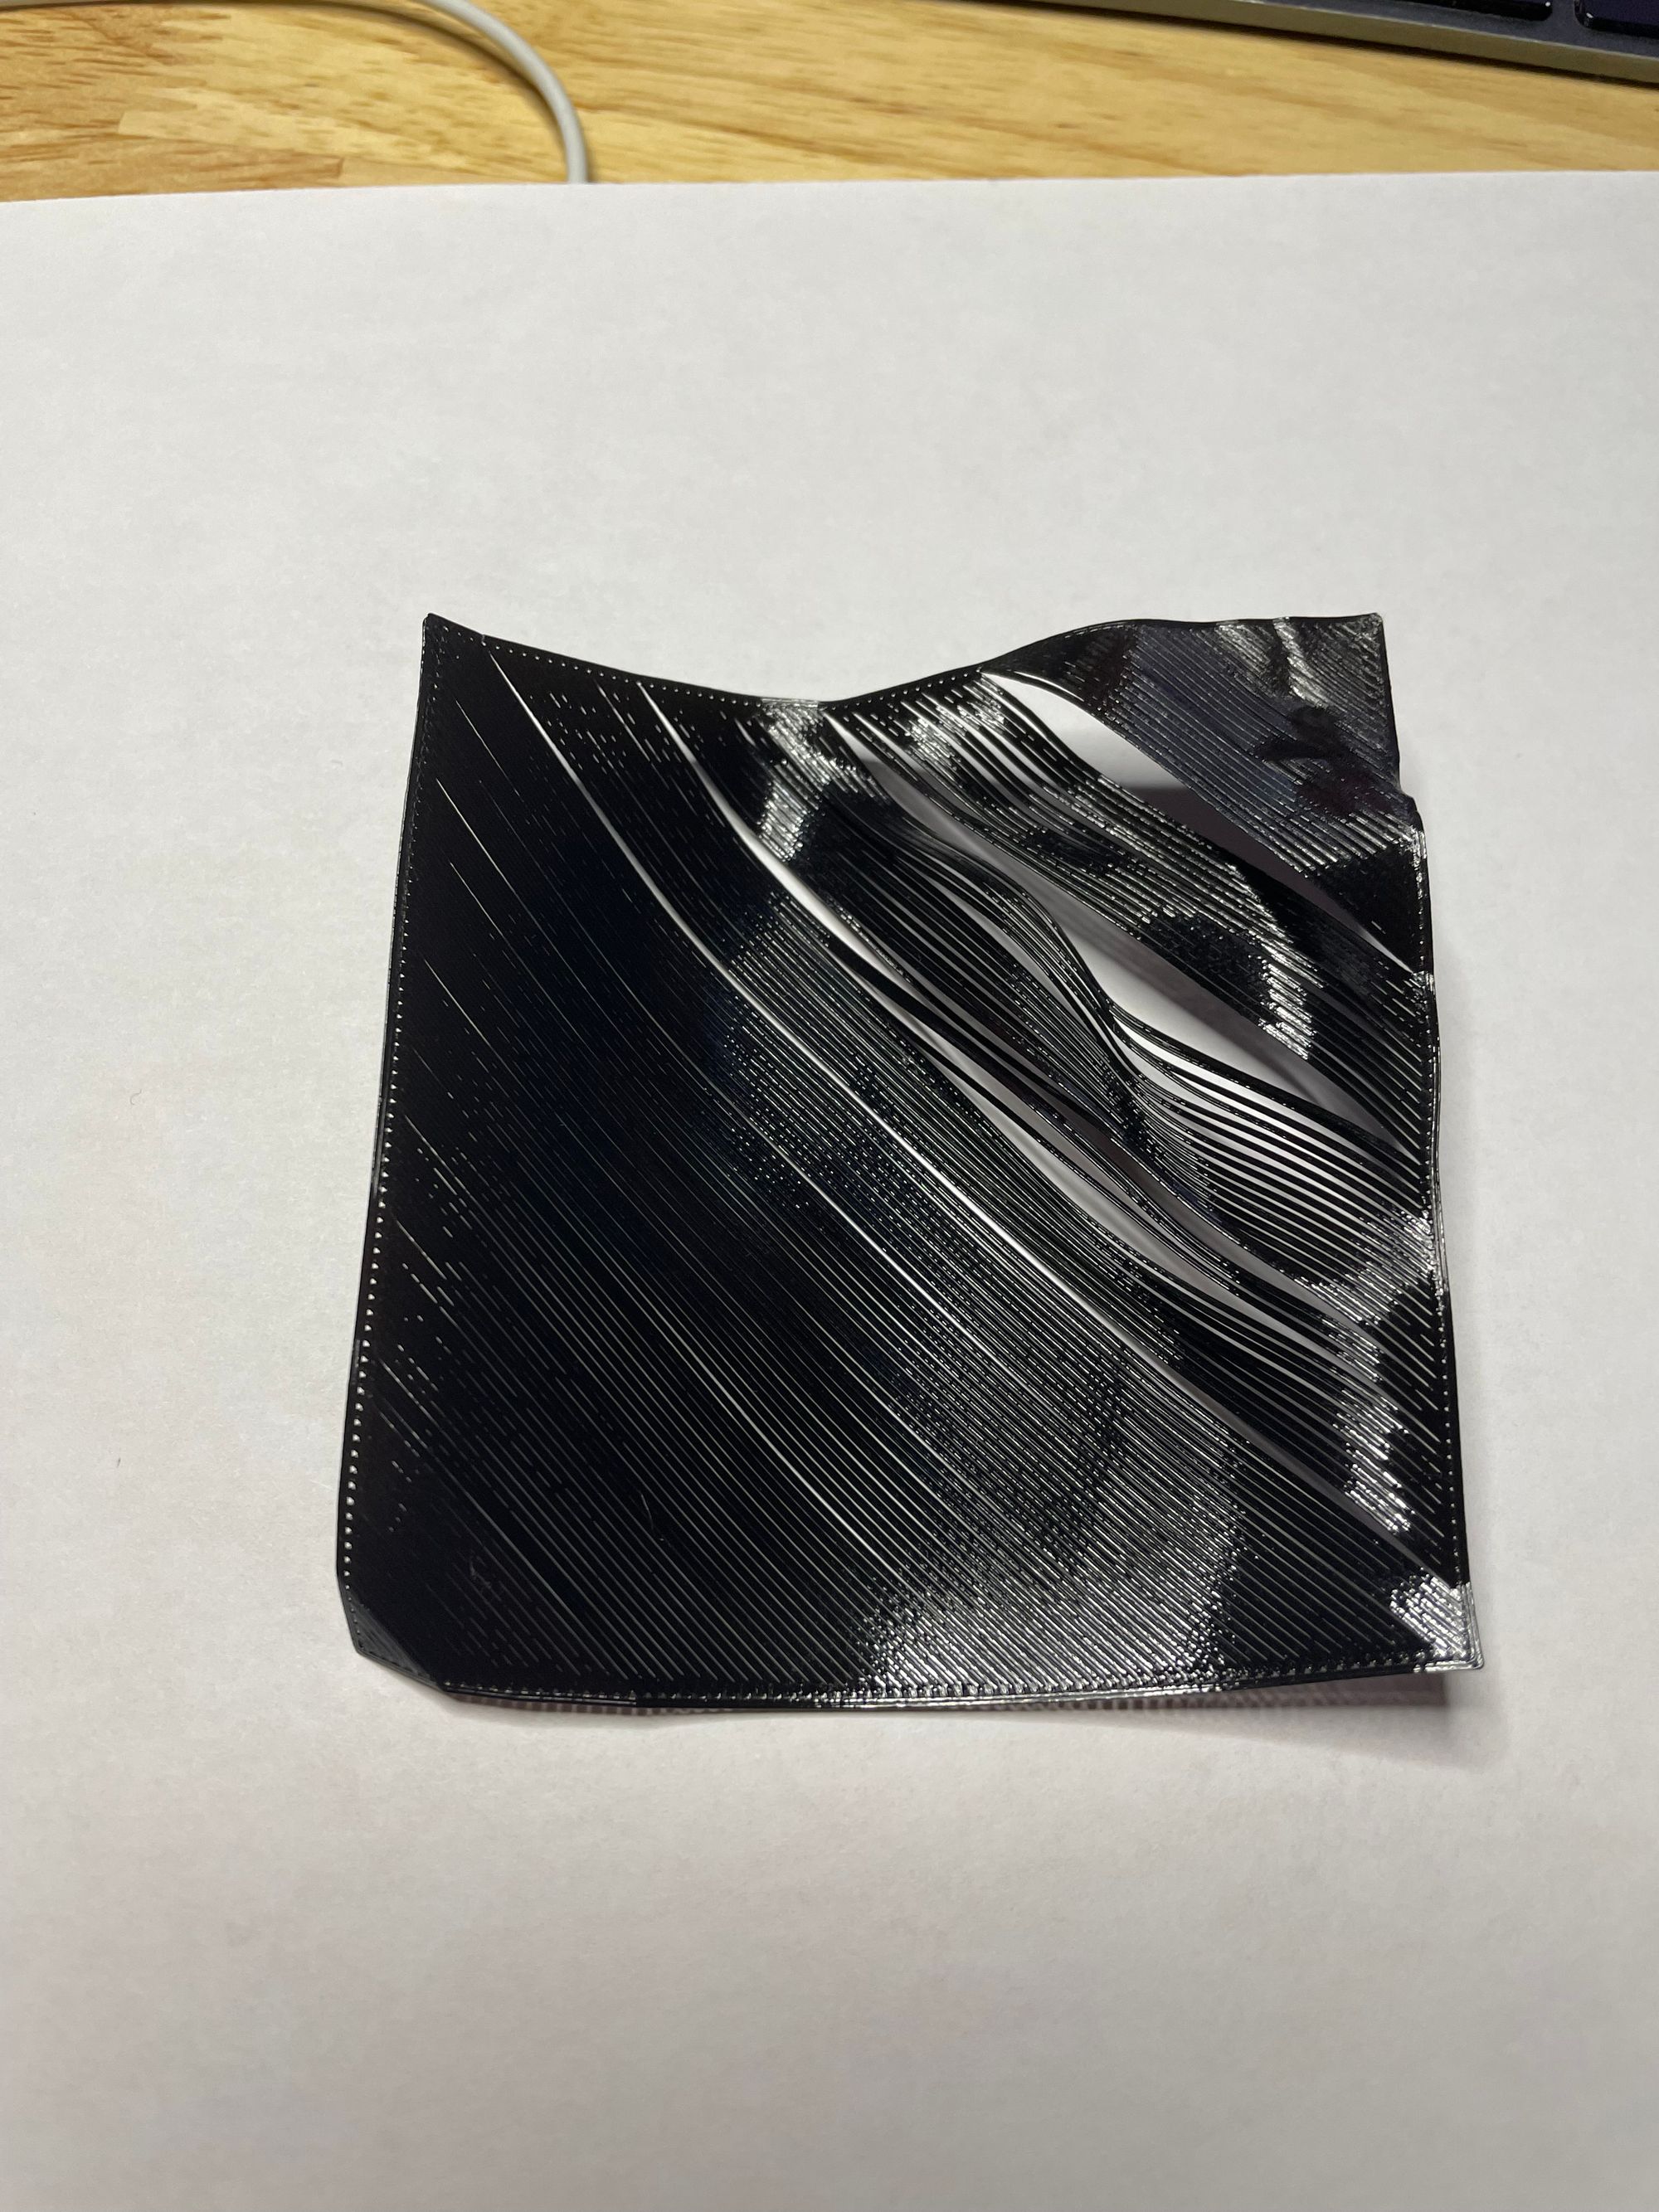
If the surface looks "wavy", i.e. you can see the waves of filament rising up between individial extrusions (also would cast a "shadow" I mentioned earlier) - your nozzle is too low and the layers are squished together too much, rise it up. If you leave it like that every print you'll make will have an elephant foot.
Let the printer finish the print, do not try to make "big" adjustments more than 4 times per print, you will not get any significant data. As soon as printer allows you, you can remove the sheet from the bed. CATION!!! At this point the bed and the printed sheet is very hot! If it's too hot to touch - give it a minute to cool off! You'll get a paper-like square. Touch the surface that was facing the nozzle with fingers, use your fingertips and nails. From this point it's really routine binary search of the best value. The formula is simple:
New Z = (Last Wavy Z + Last Stringy Z) / 2
For example, if Last Wavy Z was -1.8mm and Last Stringy Z was -1.69mm the new value should be -1.745mm
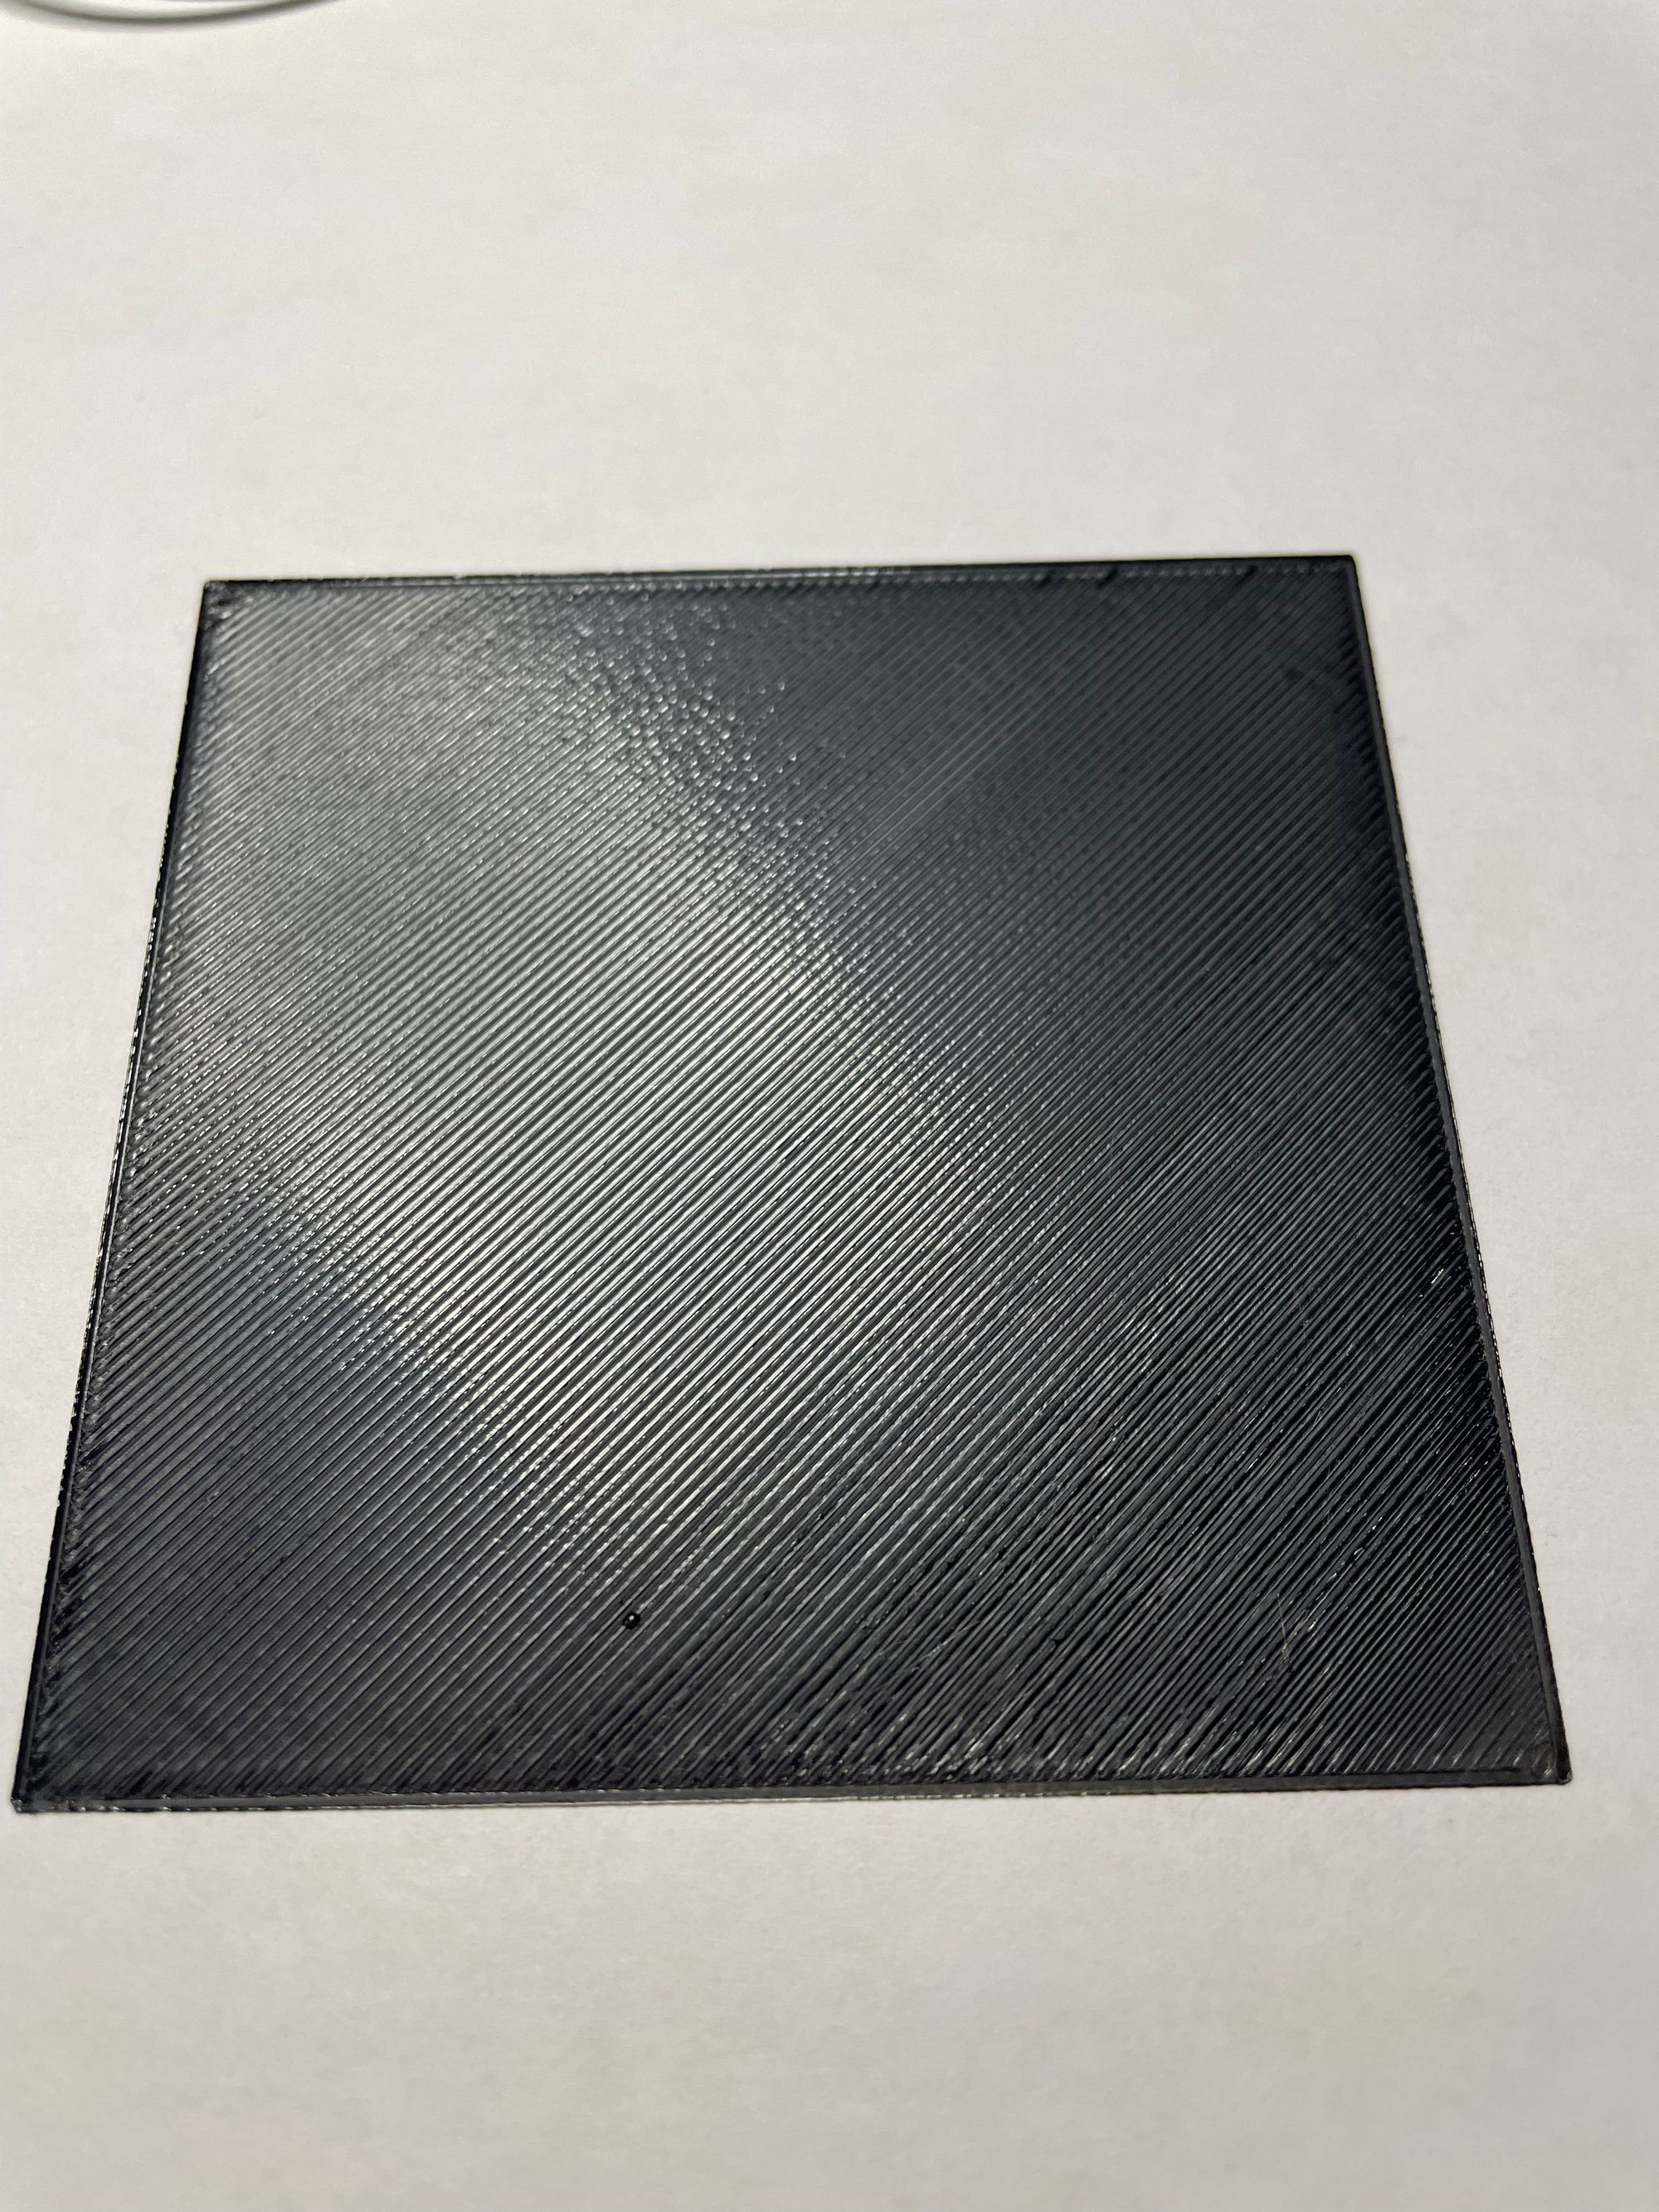
At some point you will see smooth-like surface, but it might still feel a bit off. If you feel "roughness" on the surface (somewhat close to the Prusa texture PEI bed sheet) - you are still on "wavy" and need to lift the nozzle. If you feel something close to regular "layers" pattern - you are still on stringy side, tho the chances of being on this side is pretty low. Usually if the extrusions stick to each other well and are not rough - you are done. While we are looking for smooth surface, it will never be perfectly smooth due to how 3D printing works. From this point I recommend performing adjustments in 0.01mm steps and do it once per print. For example, you are still on the "rough" - lift the nozzle by 0.01mm and complete the square. Examine it. Repeat. If extruded strings stop sticking to each other - you reduce nozzle height one last time (maybe twice), perform the print and if it's done - you have finished perfect first layer calibration. Overall the whole process might take up to the whole hour, but if you are lucky enough - it will take 3 prints.

Post calibration
After you've calibrated first layer grab the XYZ calibration cube from thingiverse. Check the first layer, it should not have elephant foot, nor it should not have individual plastic strings. If either of those are still there - you have not finished calibration, go back to the process. Good luck and happy printing!